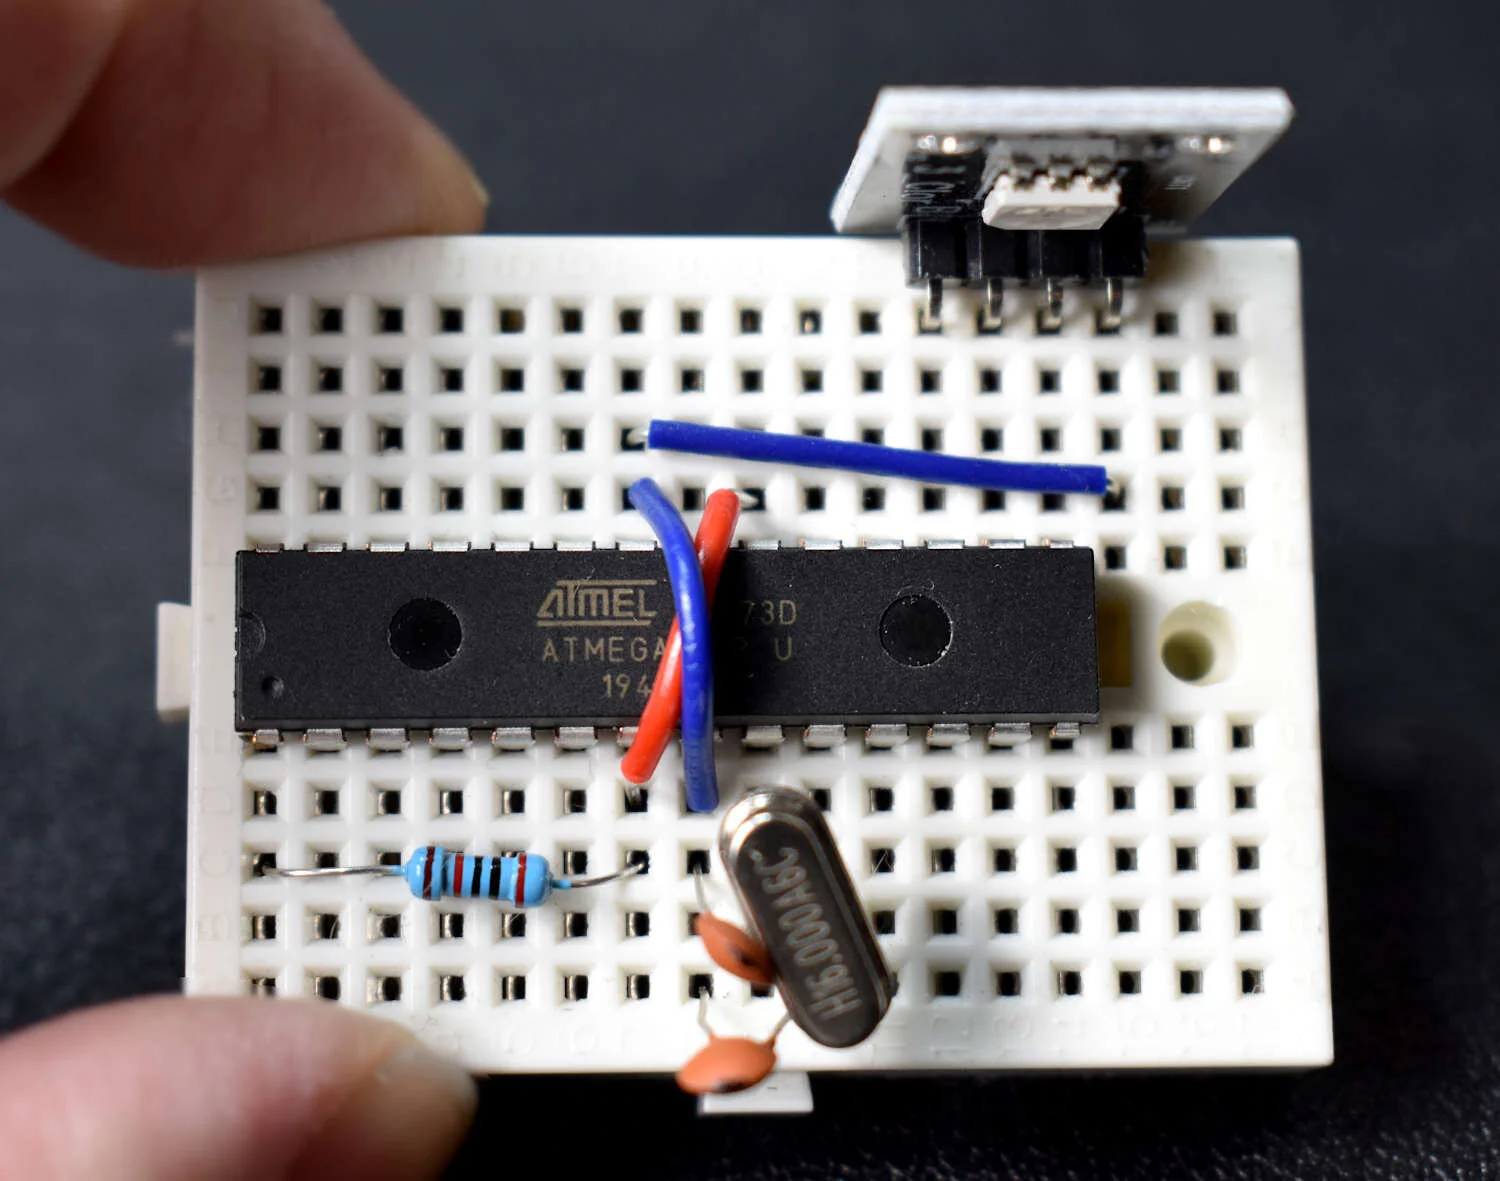
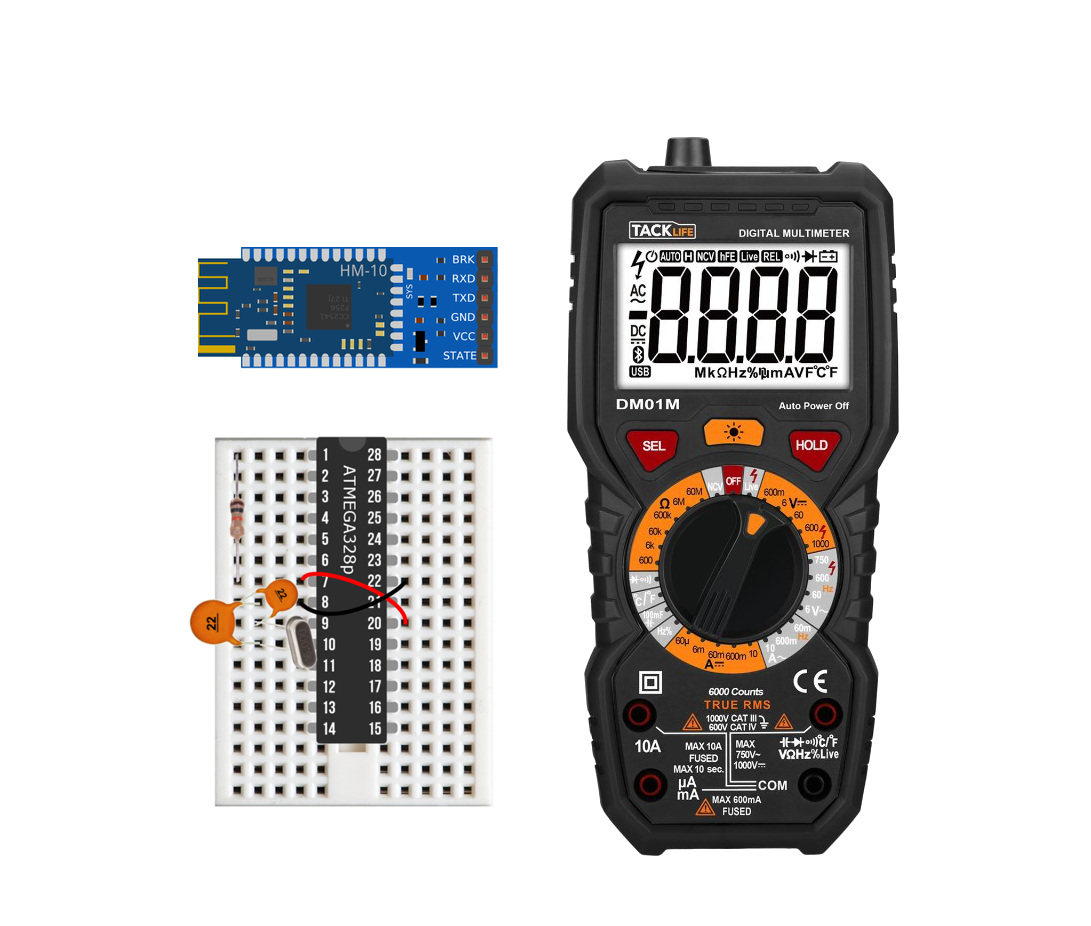
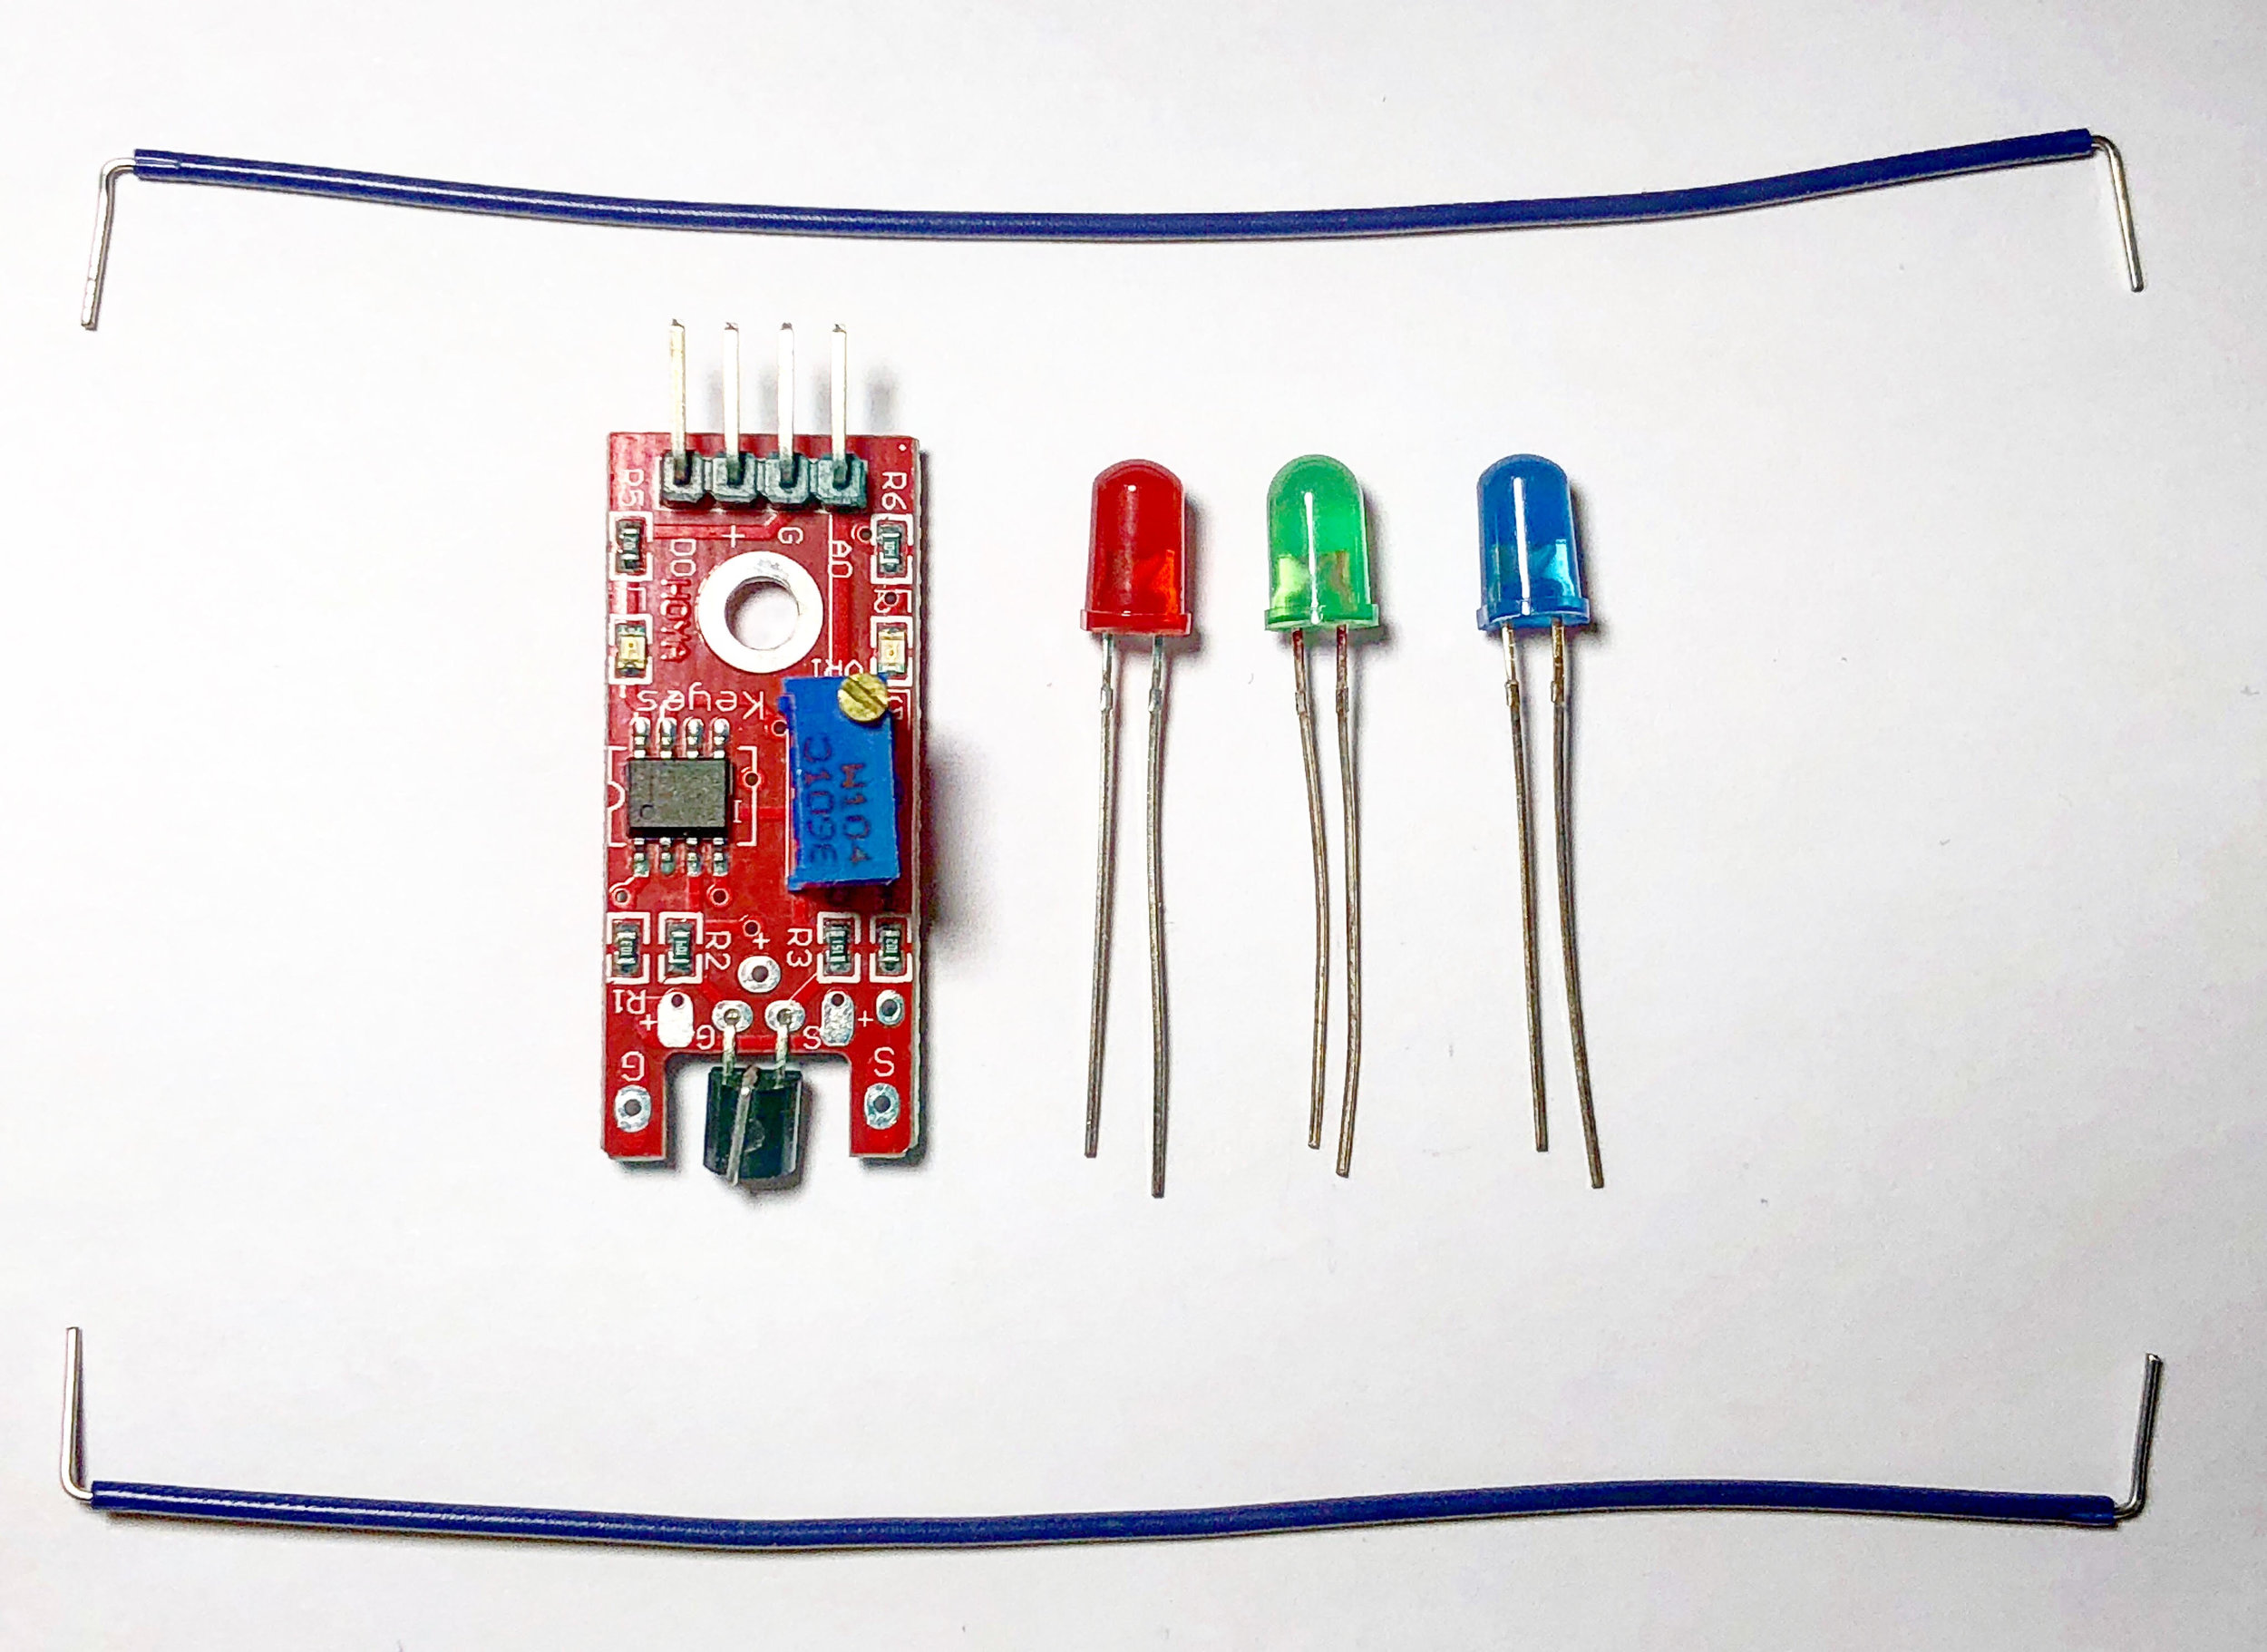
A DIY Arduino board is presented here, with most of the capabilities of the classic Arduino Uno board, but with a slimmer profile and more flexibility in hardware. The advantage to using the DIY Arduino board is its ability to change the input voltage (2.7V - 5.5V), the crystal oscillator (0-16MHz), and the use of LEDs and regulators when needed. The DIY board is capable of very lower power modes, without the requirement of draining components such as LEDs or regulators. The ATmega328P chip is at the center of every Uno board (in recent years), and is also at the center of the DIY board, which allows the DIY Arduino to behave almost identically to the Uno board.
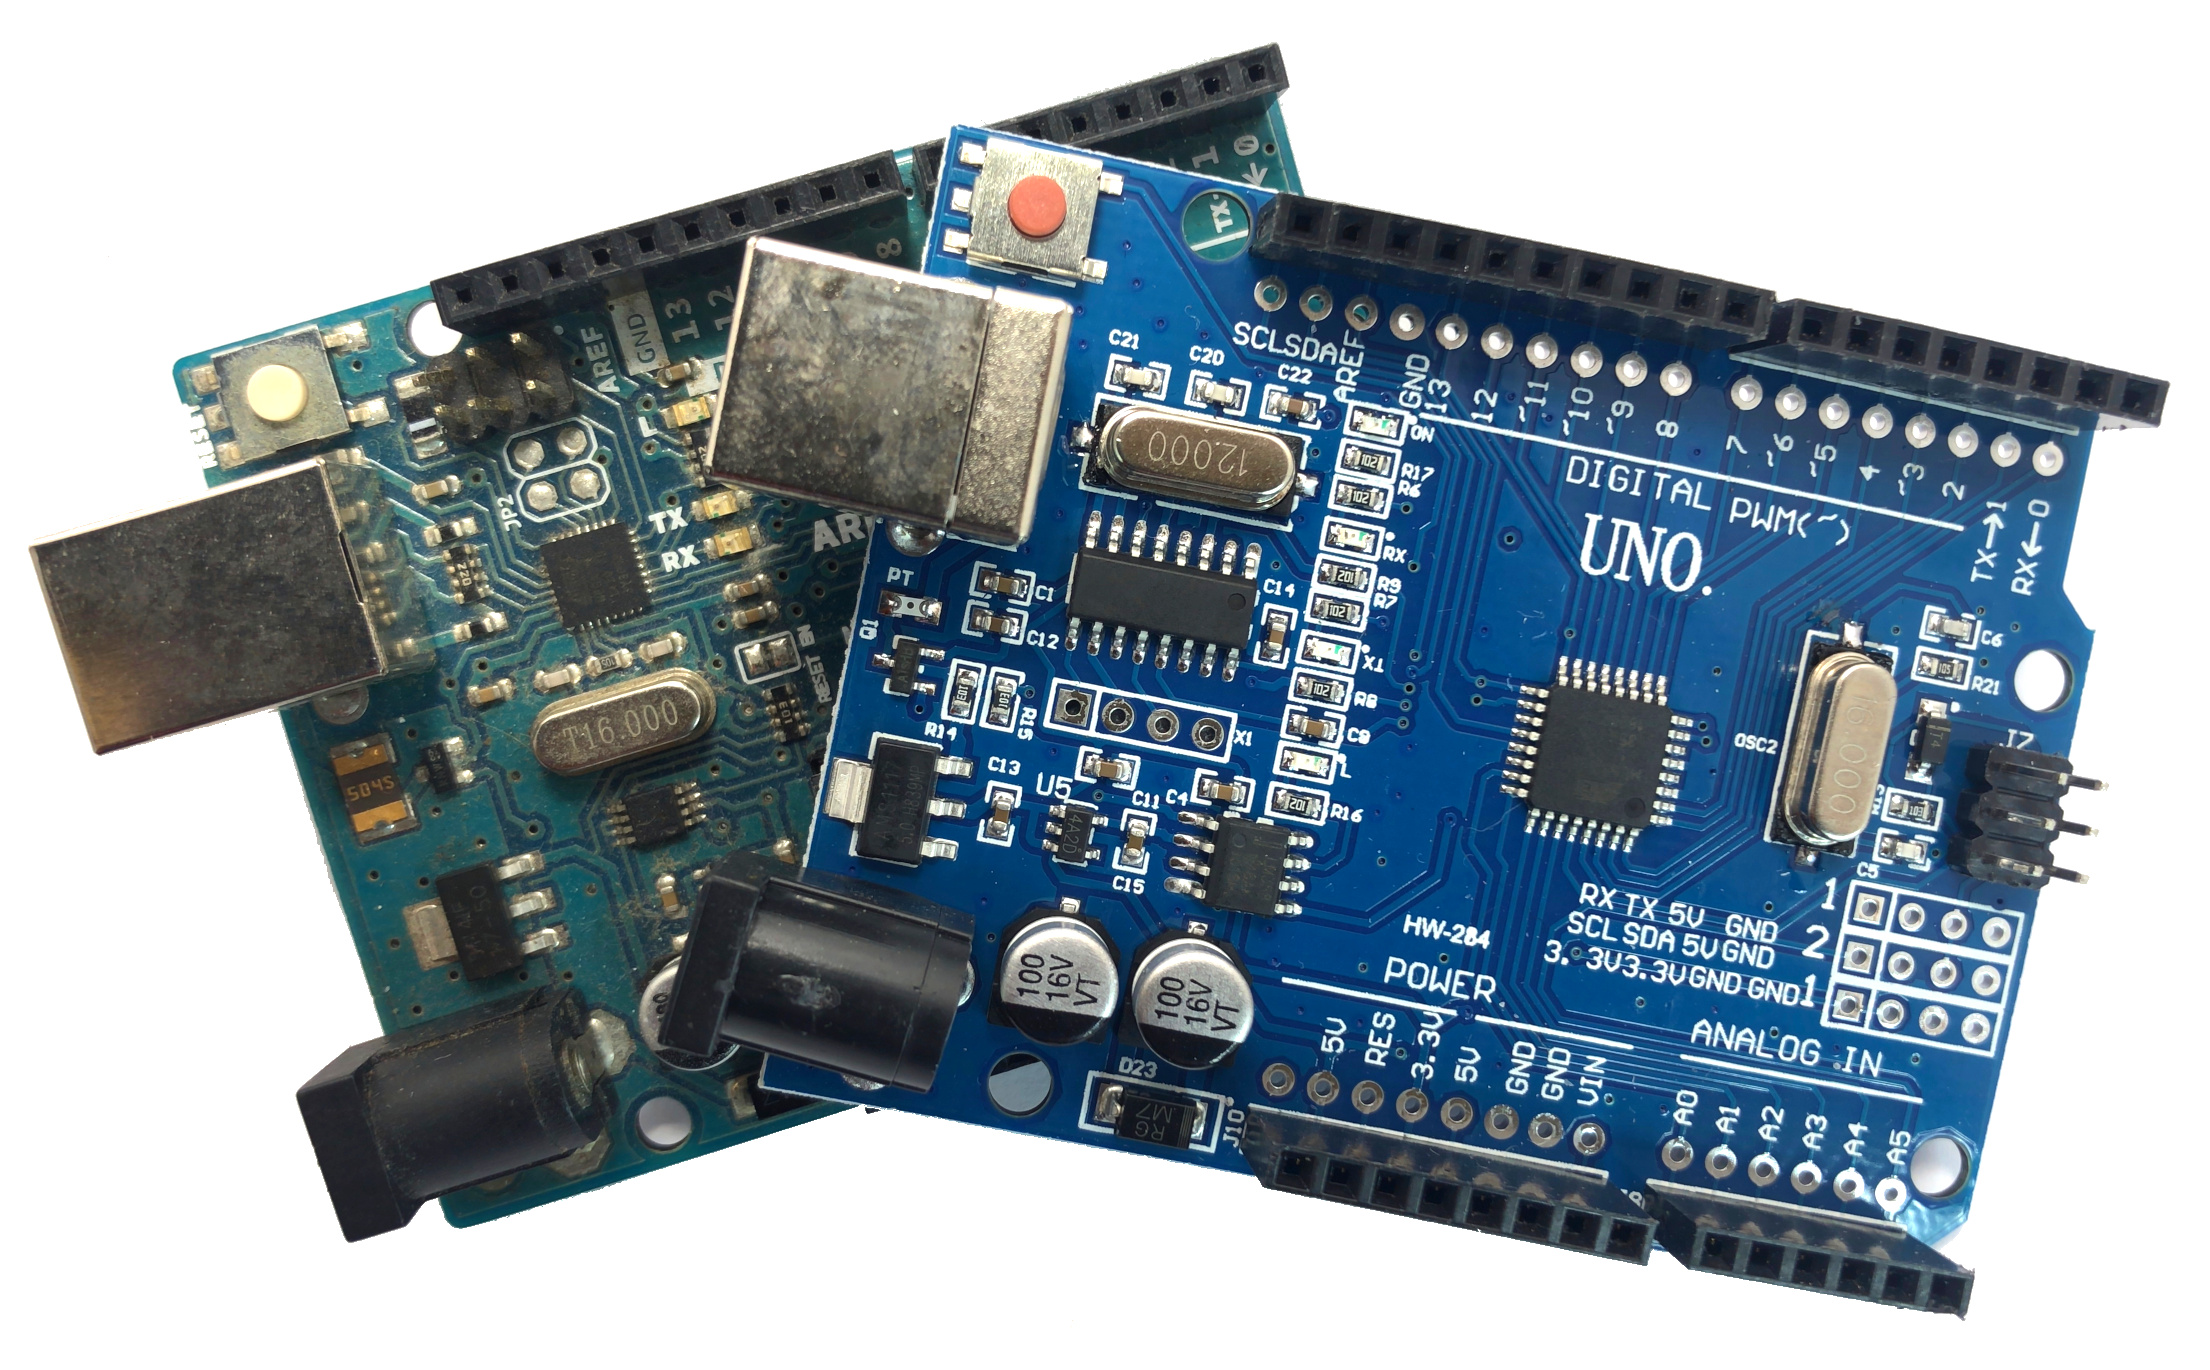
Read MoreThe CH340 Arduino board contains an ATmega328P-U-TH chip, which differs from the classic ATmega328P-PU in official Arduino Uno Rev3 boards. The CH340 is an inexpensive USB-to-Serial chip (datasheet here) that takes the place of the Rev3 board’s more expensive ATmega16U2. This creates issues when programming the Arduino board with certain operating systems (specifically Windows), however, for most Linux and Mac systems - there appears to be no issue. In this tutorial, I will explore the CH340 Arduino board to see whether there are differences in performance and power under different operating conditions. This will definitively answer whether the CH340 is a worthy alternative to the Rev3 or if it’s just a cheap imposter.
Read More


