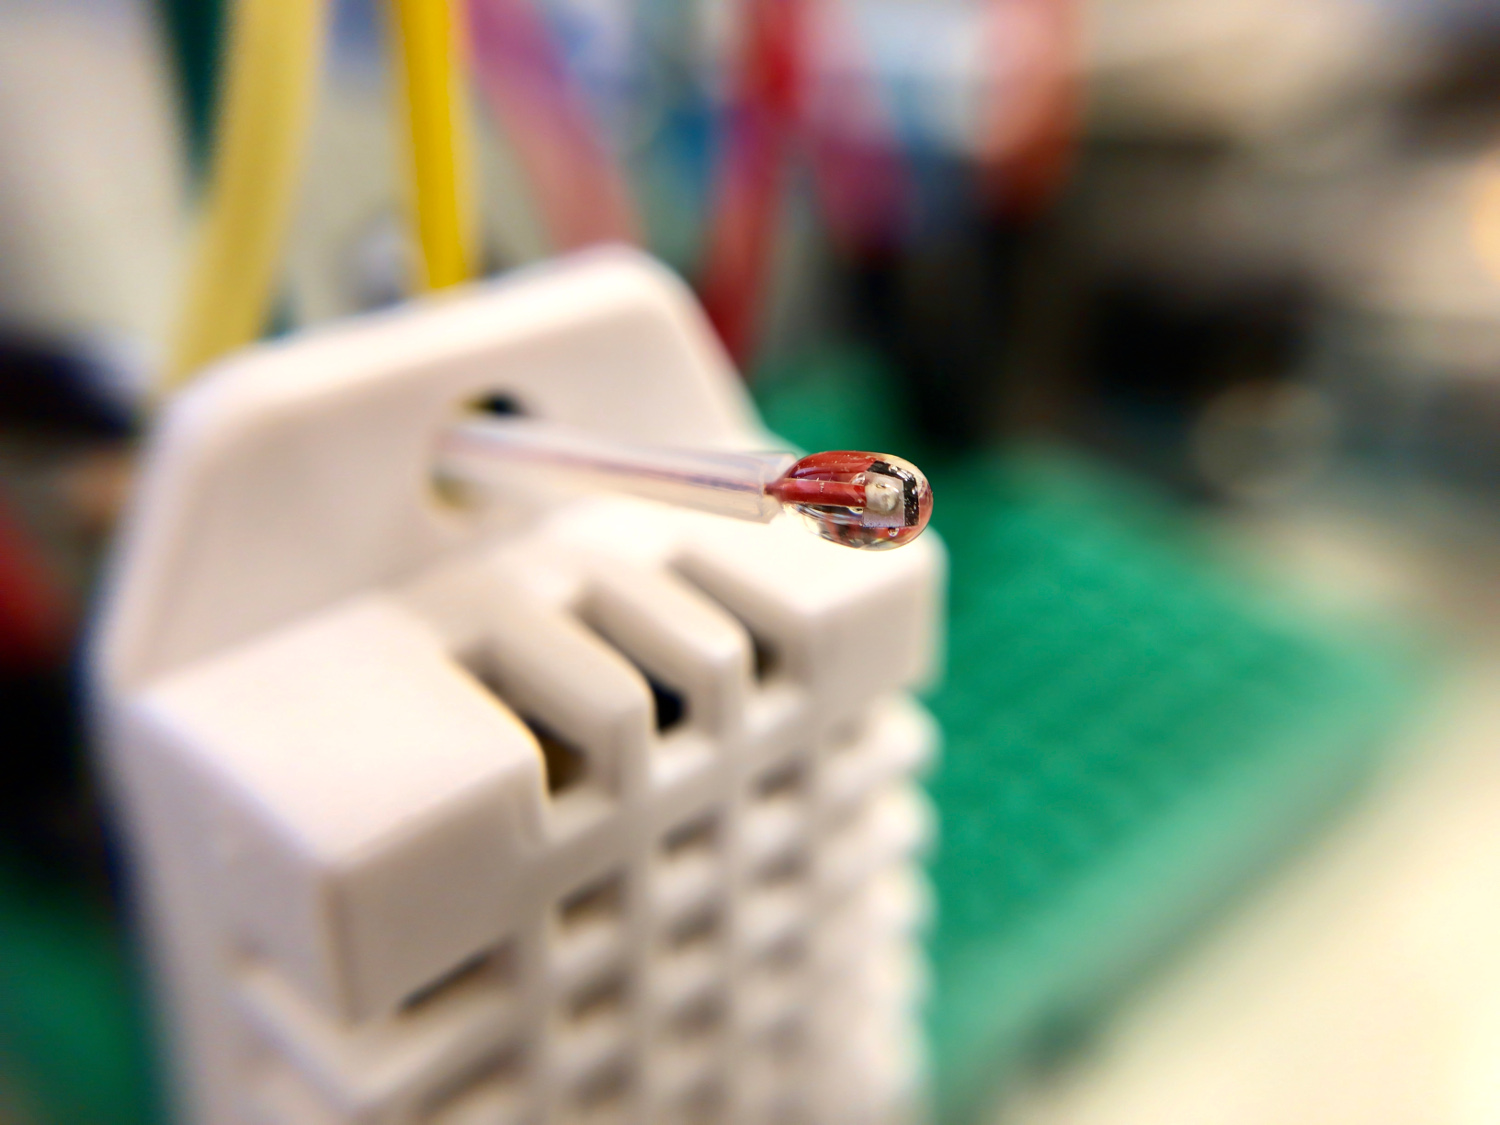
Thermistor, whose name is derived from a combination of thermal and resistor, is a temperature sensing device that registers changes in internal resistance as a function of temperature. Thermistors are often chosen over thermocouples because they are more accurate, have a shorter response time, and are generally cheaper. For most applications, thermistors are the smart and easy selection for temperature sensing below 300 degrees Celsius. In our case, we will be using a Negative Temperature Coefficient (NTC) thermistor, where the resistance decreases as the temperature increases. NTC thermistors are most common in commercial products that operate in the tens of degrees like thermostats, toasters, and even 3-D printers. An NTC 3950 100k thermistor will be used, which is designed for 100kOhm resistance at 25 degrees Celsius. This tutorial will introduce methods for relating resistance to temperature by fitting factory calibration data. The performance of the thermistor will also be evaluated using an Arduino board and a simple Newton’s law of cooling experiment.
Read MoreThis tutorial takes full advantage of the ESP8266 WiFi chip by serving a local webpage to control the general purpose input and output (GPIO) pins on a NodeMCU microcontroller. Some basic HTML and CSS programming methods will be utilized to create a stylish webpage that is both asynchronous (AJAX) and input-driven - this will give the user the ability to control the pins on the microcontroller. For the current example, an electromagnet and LED will be controlled using pulse width modulation (PWM) and simple high/low logic, respectively. The PWM control allows the user to change the voltage to the component, altering the magnetic field of the electromagnet. For the LED, the traditional digitalWrite() method will turn the LED on and off.
Read MoreNodeMCU is a WiFi platform that integrates the ESP8266 system on chip hardware with the familiarities of open-source software. The NodeMCU is powerful because it endows users with the ability to create Internet of Things (IoT) projects at a relatively low cost with tools readily available and open to the maker community. NodeMCU is fully compatible with the Arduino IDE, which is the method for programming the board in this tutorial.
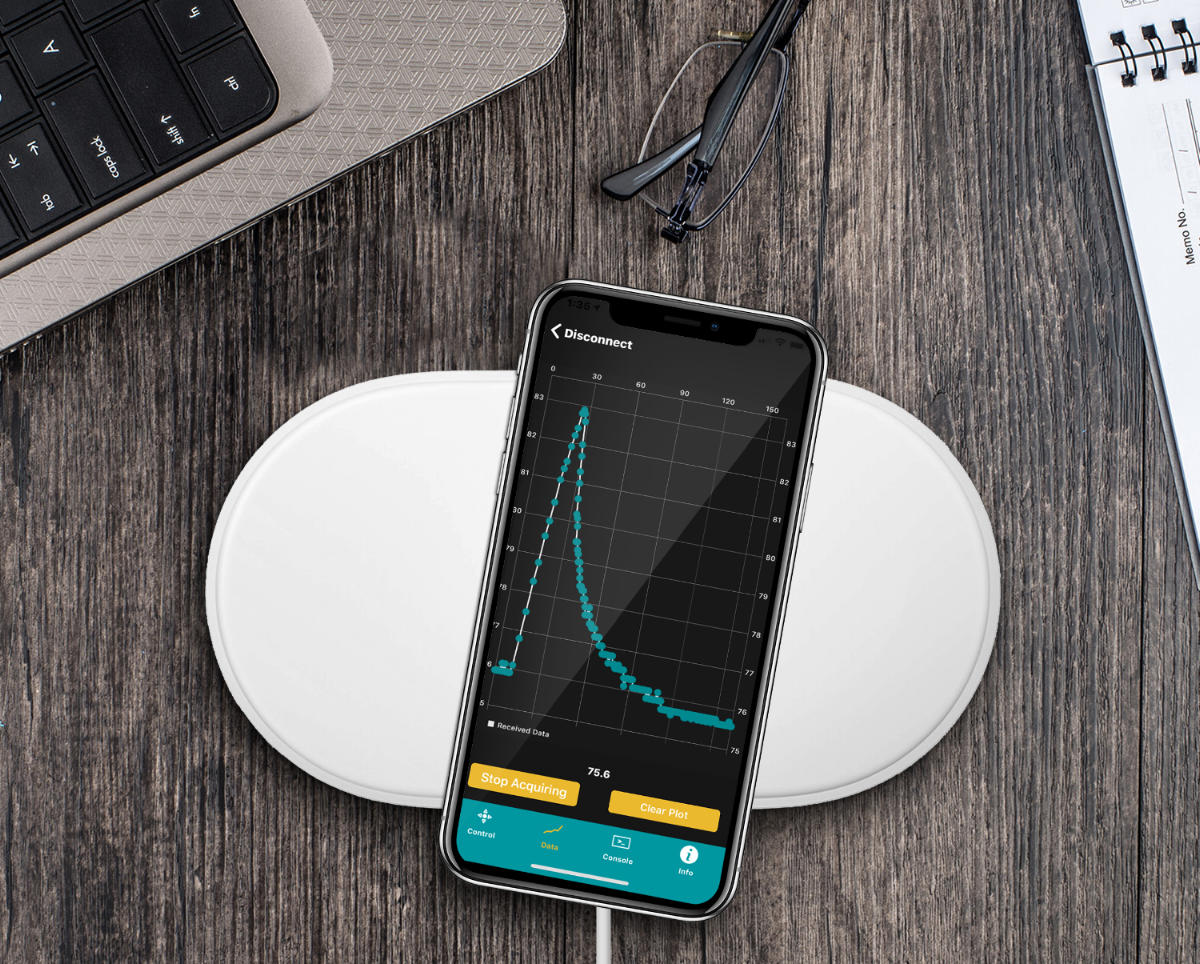
Read MoreThe BLExAR app will be used in conjunction with a CC2541 (HM-10, JDY-08, AT-09, SH-M08) Bluetooth module and an Arduino (ATmega328) board to create a simple data acquisition system. A DHT22 sensor will provide temperature and humidity data to the Arduino which will be recorded by an iOS device via the BLExAR app. This experiment is a real-world example of an Arduino application demonstrating data acquisition from a real sensor. This tutorial will allow users to solve their own engineering problems using the modern Arduino platform and wireless communication through the BLExAr app, which will ultimately expand the reach and compatibility of technology in the classical sciences through exploration and experimentation.
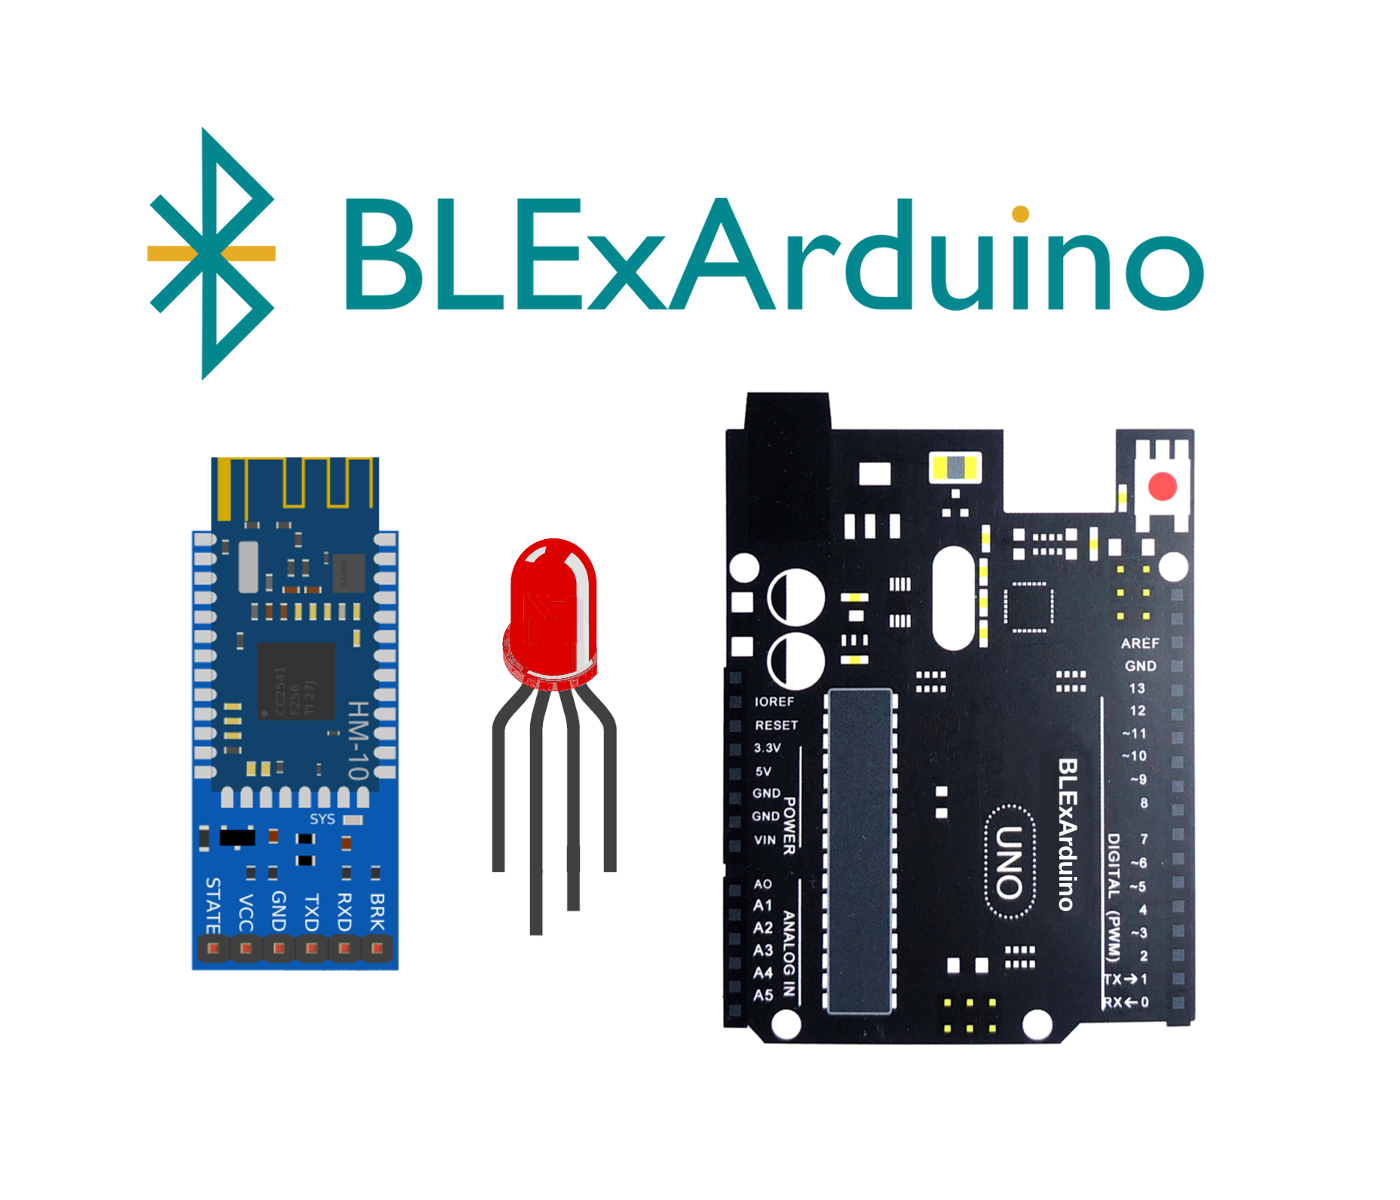
Read MoreControl an RGB LED using three PWM pins on an Arduino Uno board via Bluetooth communication. An RGB LED is a single casing with three cathode (or anode) pins and one anode (or cathode) pin. This results in a 4-pin LED. In this tutorial, I will be using an RGB LED with three anodes and one common cathode. This means that we can change the color of the LED to over 16.7 million different variations (assuming each anode produces a different luminosity for each voltage change of the Arduino PWM pin). This tutorial will help demonstrate the power of the BLExAR app, and the flexibility of an Arduino board under iOS Bluetooth control. In my case, I will be using an iPhone with the BLExAR app, but an iPad would suffice as well.
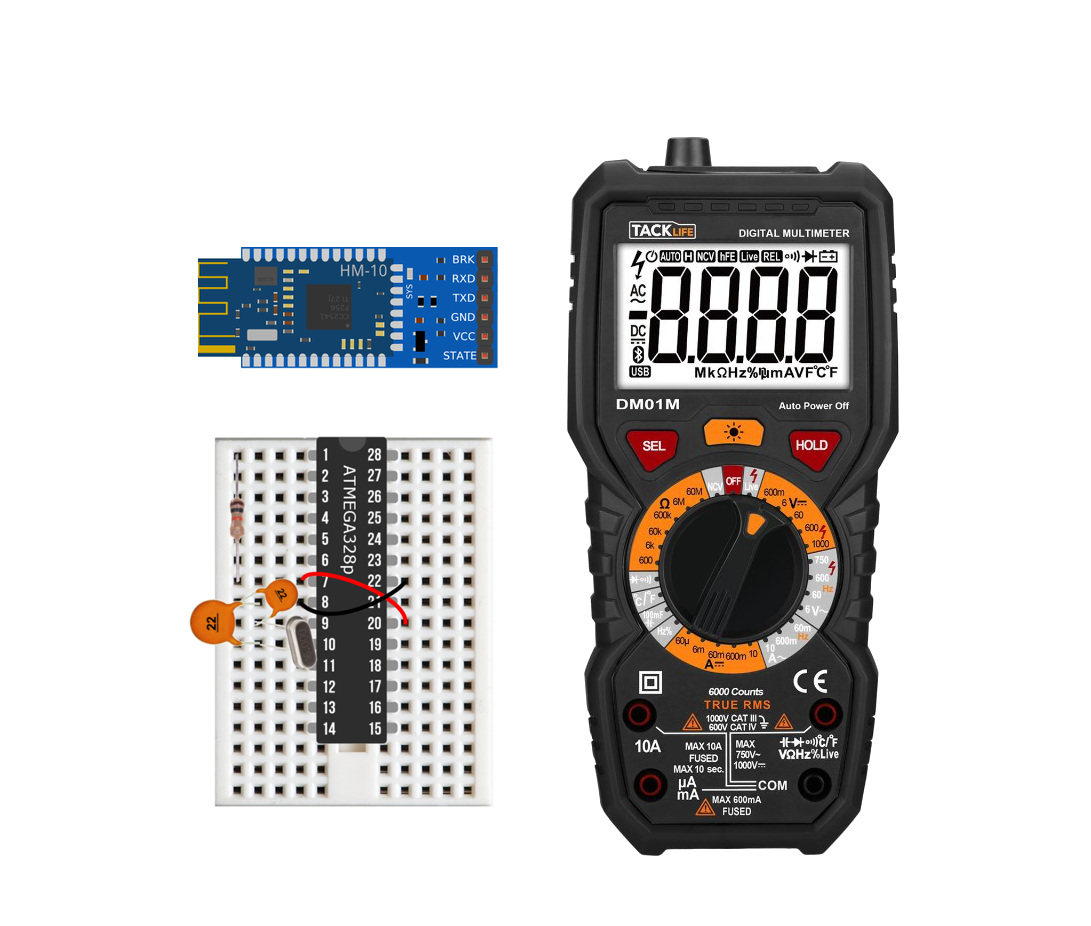
Read MoreAn app called “BLExAR” allows Arduino users to communicate to an iOS device (iPhone or iPad) using a Bluetooth CC2541 module (different versions are called: HM-10, SH-M08, AT-09, or JDY-08). The app permits control of an Arduino board, wireless serial communication, and data acquisition. Click on the app logo shown here to download the app, as it will be used as the iOS communication software. On the Arduino side, we need to wire the CC2541 Bluetooth Low Energy (BLE) module to an Arduino board and upload the appropriate software via the Arduino IDE. In this tutorial, we will demonstrate how to verify communication between an Arduino and CC2541 Bluetooth module, and then use Bluetooth communication to send strings between an iOS device and the Arduino ATmega328p board.
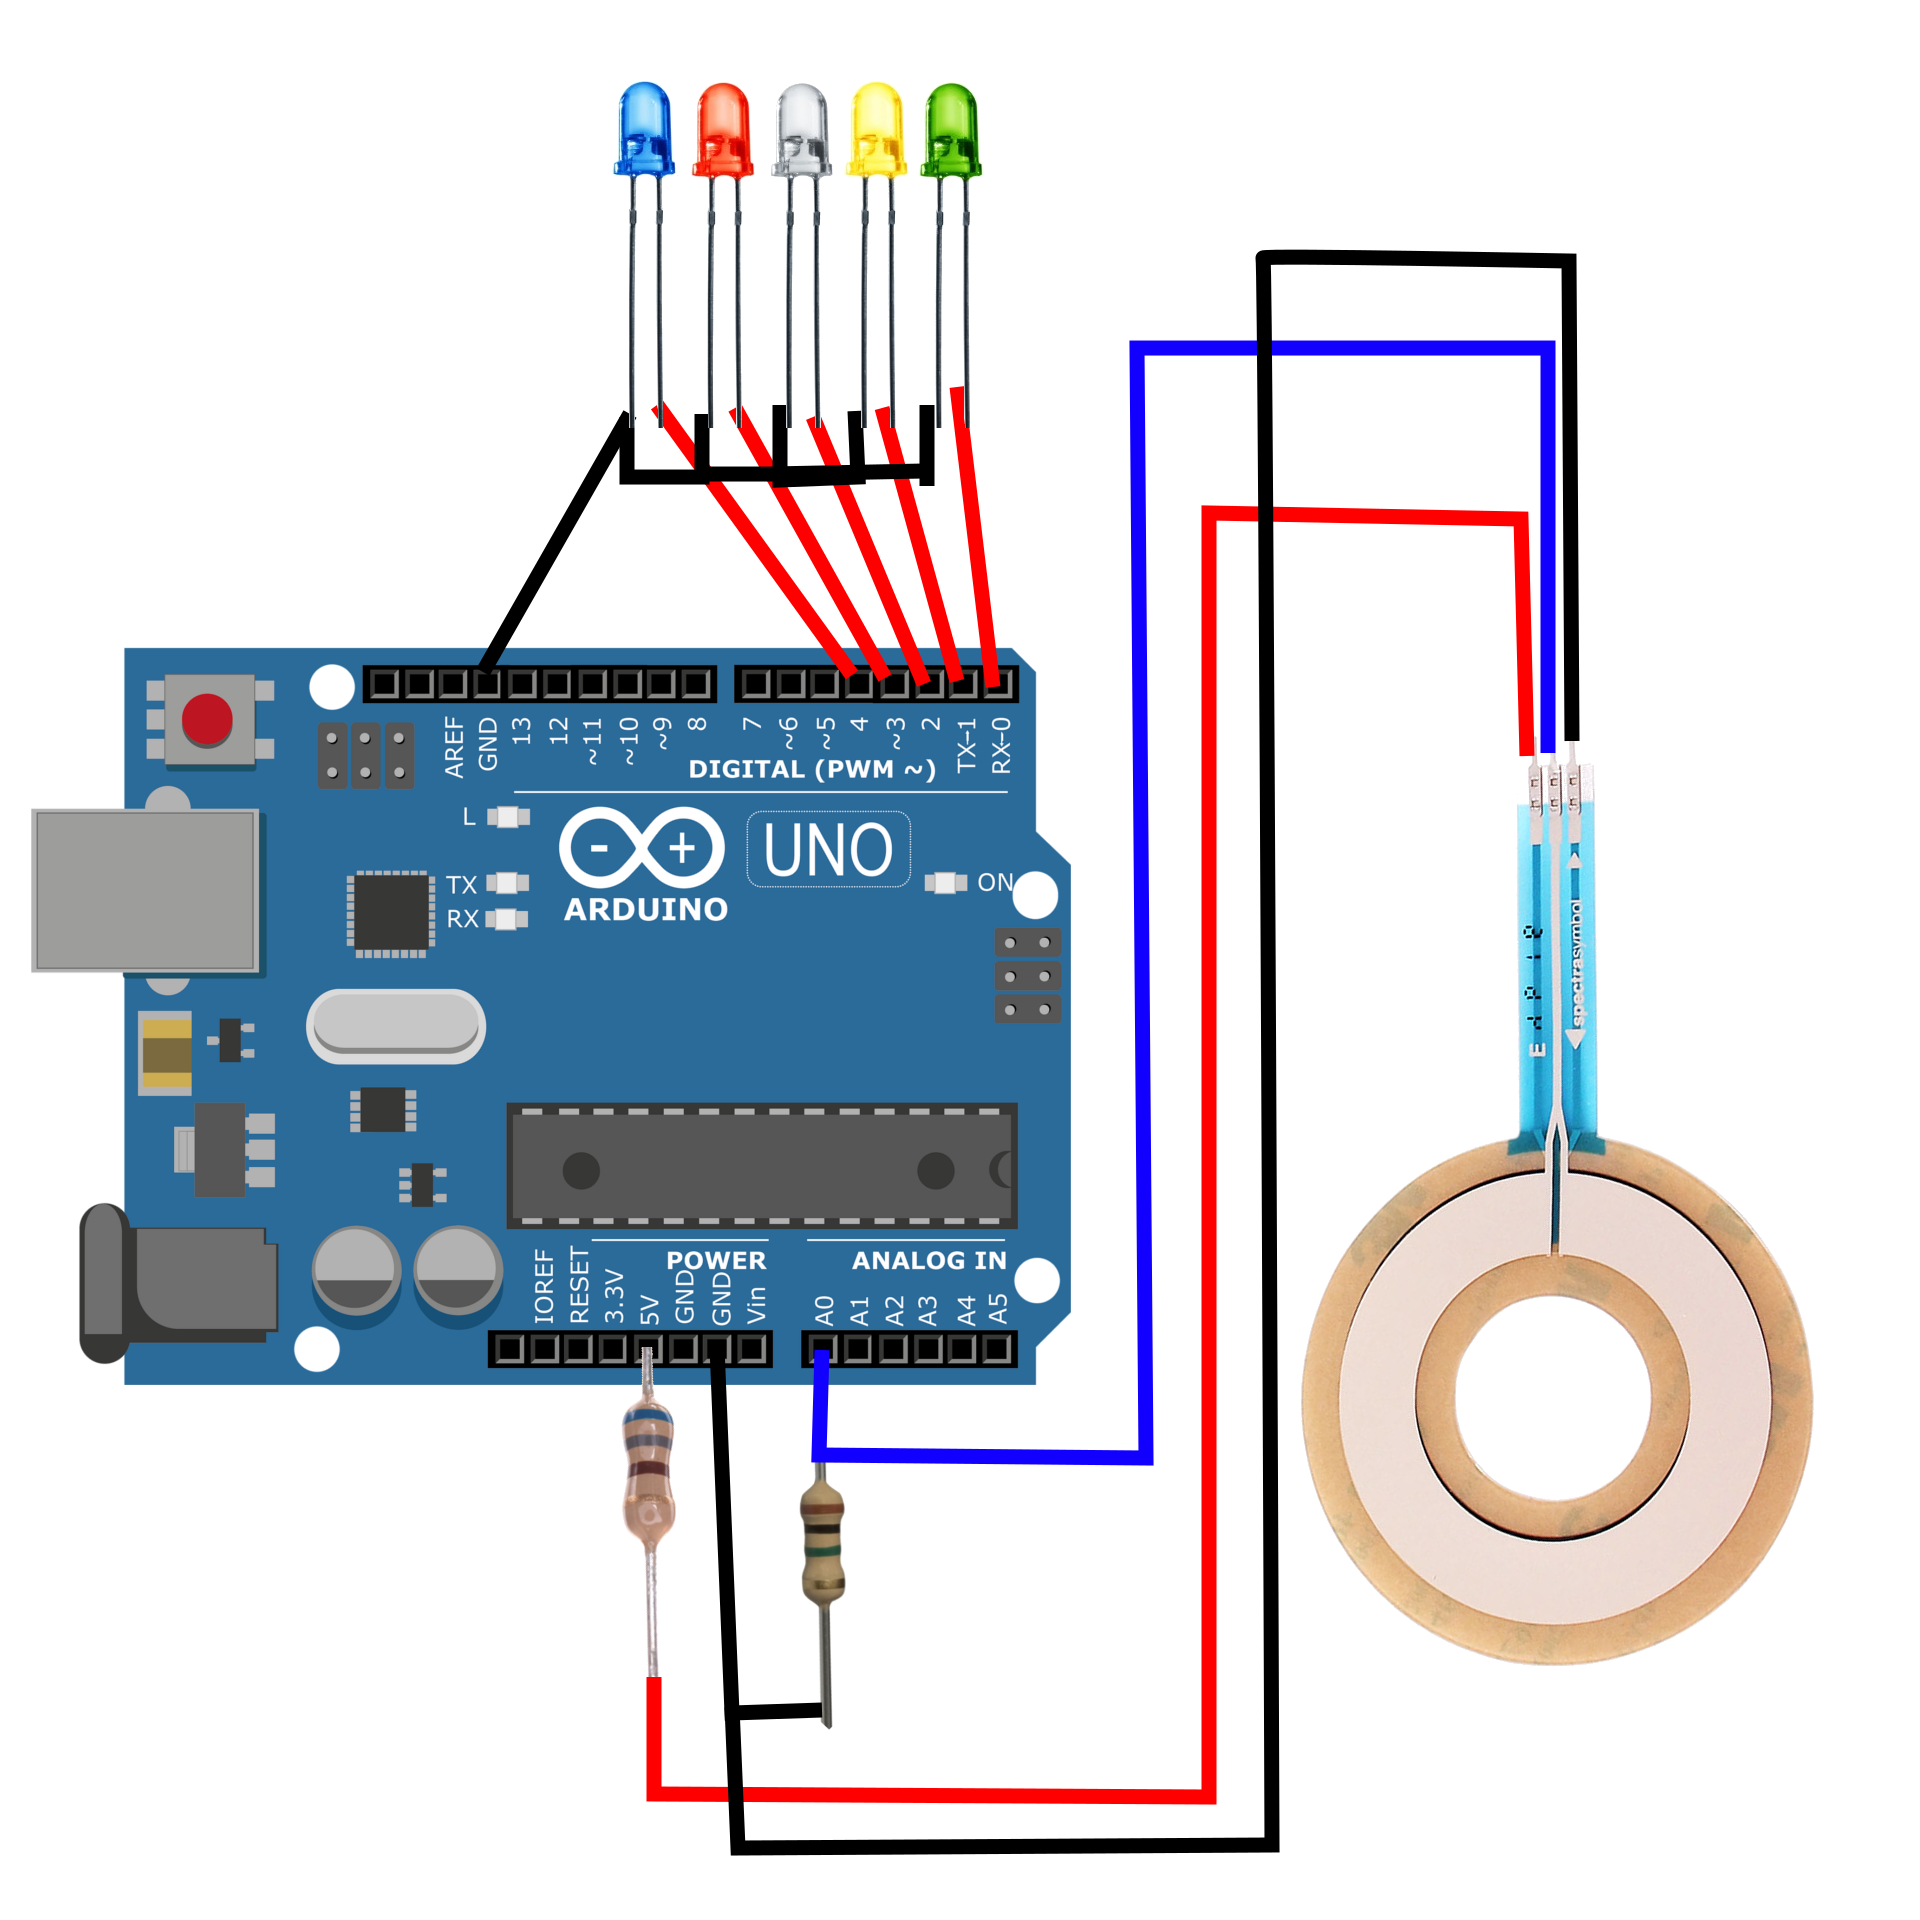
Read MoreHow to use a soft, circular-membrane potentiometer with an Arduino board. Potentiometers function by altering the voltage of a system by mechanically changing the resistance associated with a voltage divider. In a traditional potentiometer (think of turning a volume knob), we are physically changing the voltage of a system. In the case of a soft potentiometer (where the name SoftPot comes from), we are altering the resistance of the voltage divider by physically depressing the potentiometer, thereby changing the resistance at a contact point. The working principle is exactly the same, but in the SoftPot’s case, we are pressing, and for a knob we are rotating.
Read MoreArduino tachometer used to calculate the rotational motion of a part. Tachometers read out revolutions per minute (RPM), which tells the user how often a rotating part completes one full rotation. RPM readings are used in the automotive, aerospace, and manufacturing fields. Tachometers can indicate fuel consumption and motor speed, safety of moving parts, and even wind speed indicators. In this tutorial, the speed of a fan is measured using a hall sensor and neodymium magnet to acquire an accurate depiction of fan speed.
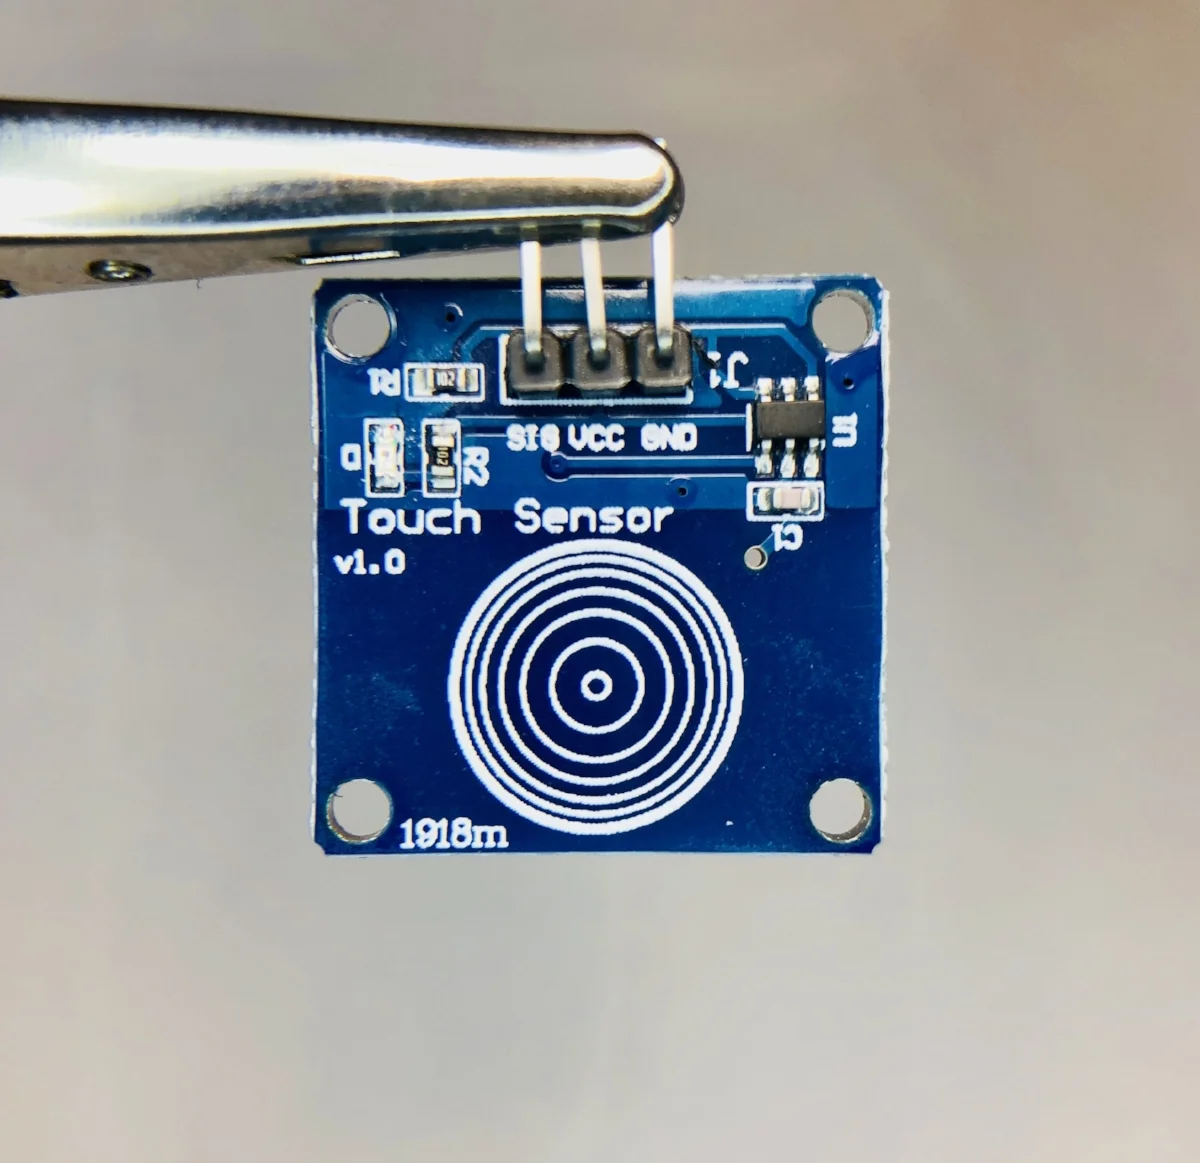
Read MoreCapacitive sensing from human touch. Create a switch without any moving parts with an Arduino board and an inexpensive capacitive touch sensor.
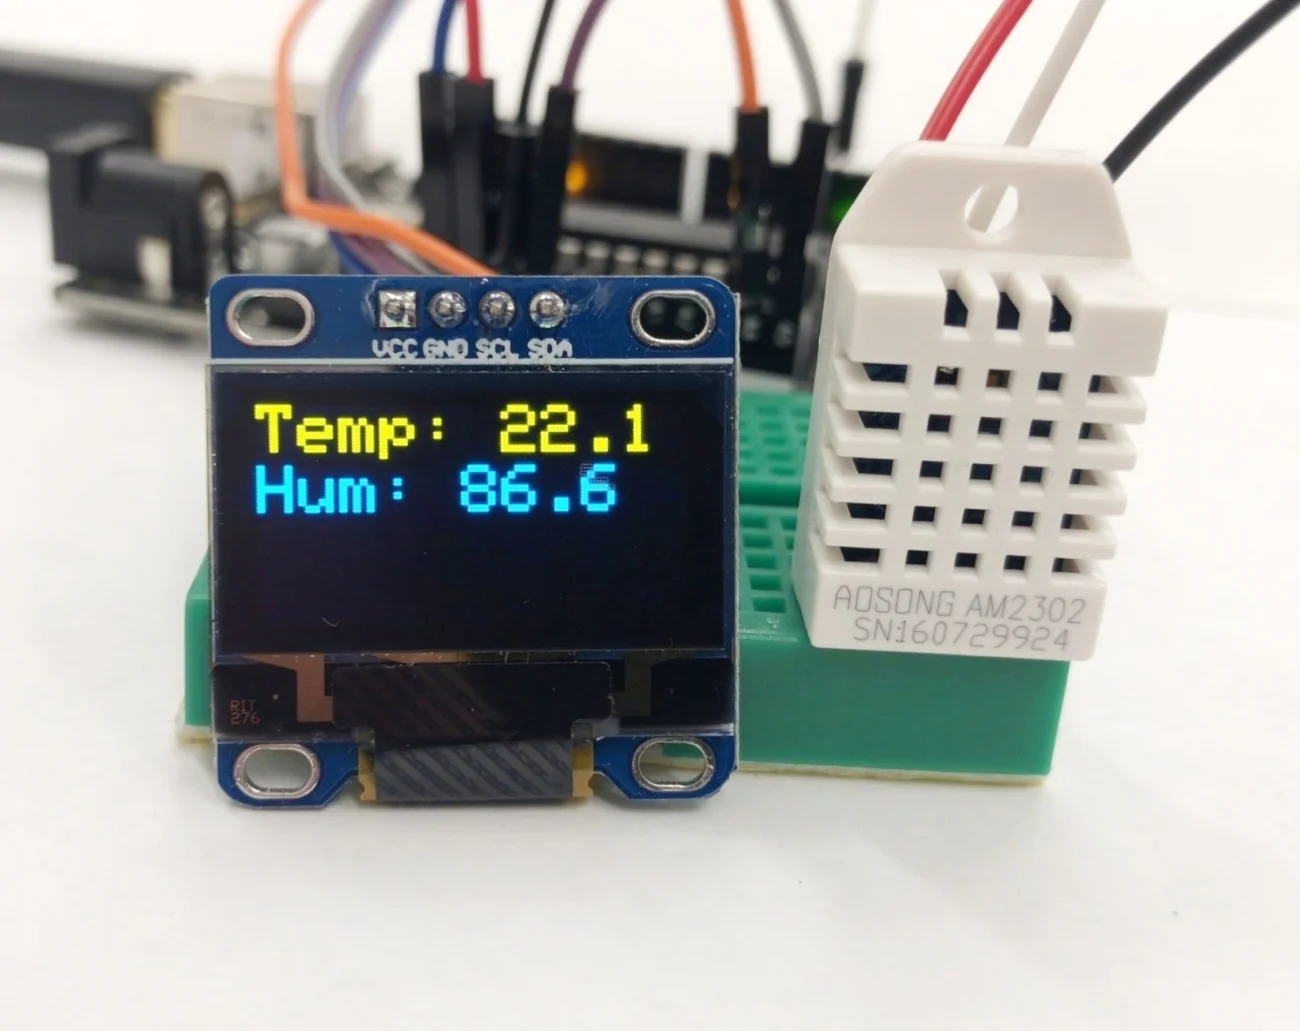
Read MoreHow to print temperature and humidity readings onto a 0.96 inch I2C OLED display. The device is DIYMall's inexpensive, high resolution (128x64 pixels), yellow and blue organic LED display that is designed for use with the Arduino platform. Together with a DHT22 temperature sensor, the tiny OLED screen will display real-time humidity and temperature data using an Adafruit library and an Arduino Uno board. This project can be expanded upon to print data from a wide array of sensors, and even grab data from the internet to print values for a smart and interactive display.
Read More
