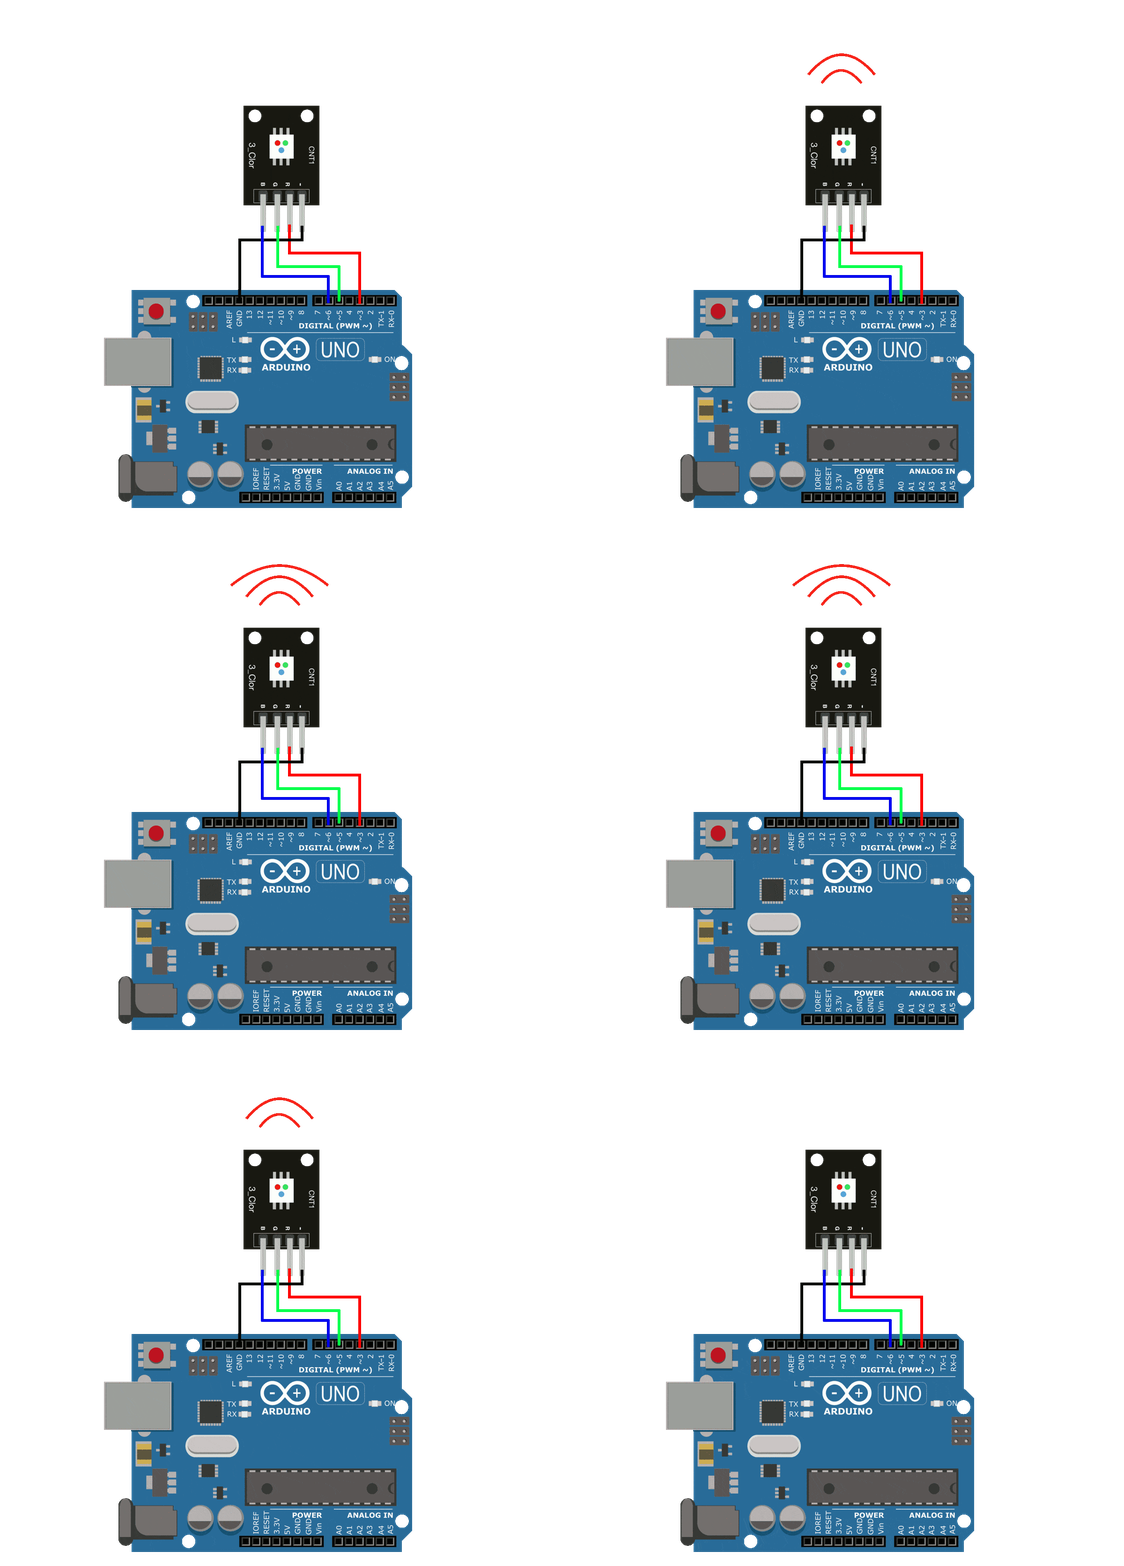
In this tutorial - an Arduino board will be used in conjunction with an RGB LED to investigate several ways of replicating the breathing LED effect. Using the equation for a triangular wave, circular wave, and Gaussian wave, a breathing LED will be constructed. The amount of code needed for the simplest breathing LED is as little as two lines of code, while the more complex breathing functions grow in difficulty from there.
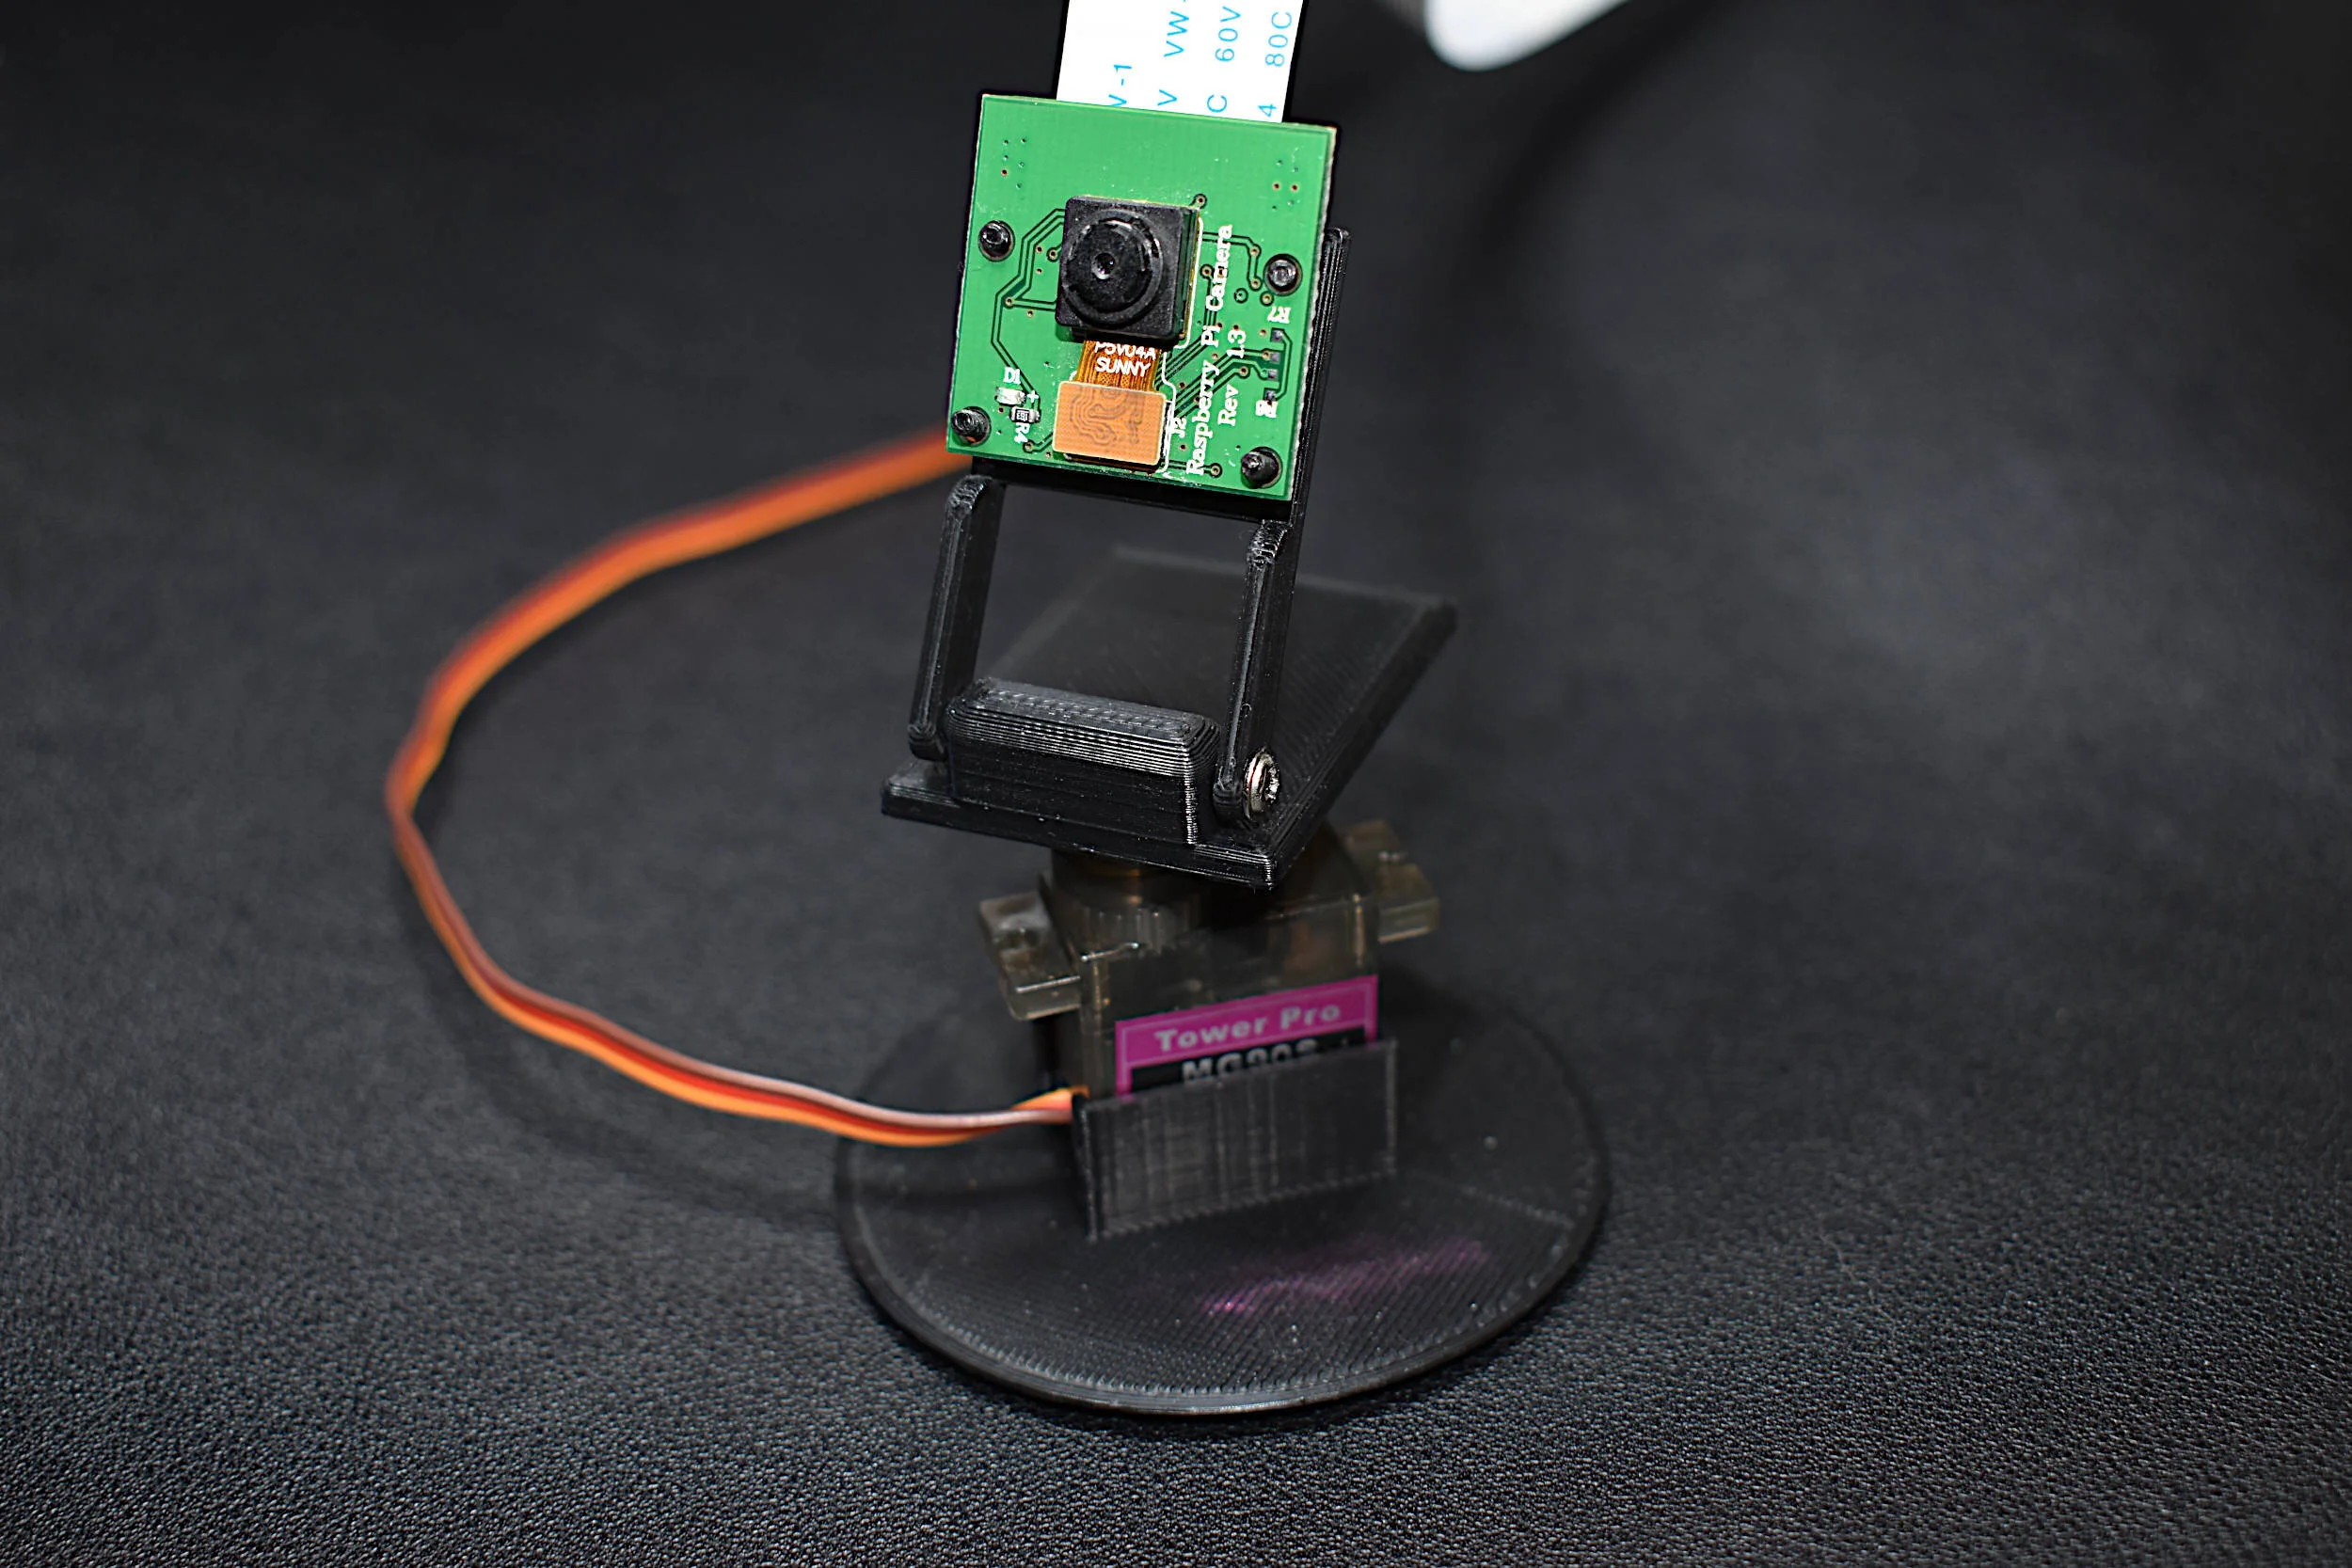
Read MoreIn this tutorial, the RPi is used to demonstrate pulse-width modulation (PWM) and apply it to servo motor control. Then, the servo is used to control the panning of a camera - which is also controlled by the native camera port on the Raspberry Pi. This tutorial is a simple introduction that can be expanded into a full 360° controllable camera project, or a project involving a robotic arm, or any project involving servo motors or PWM-controlled devices.
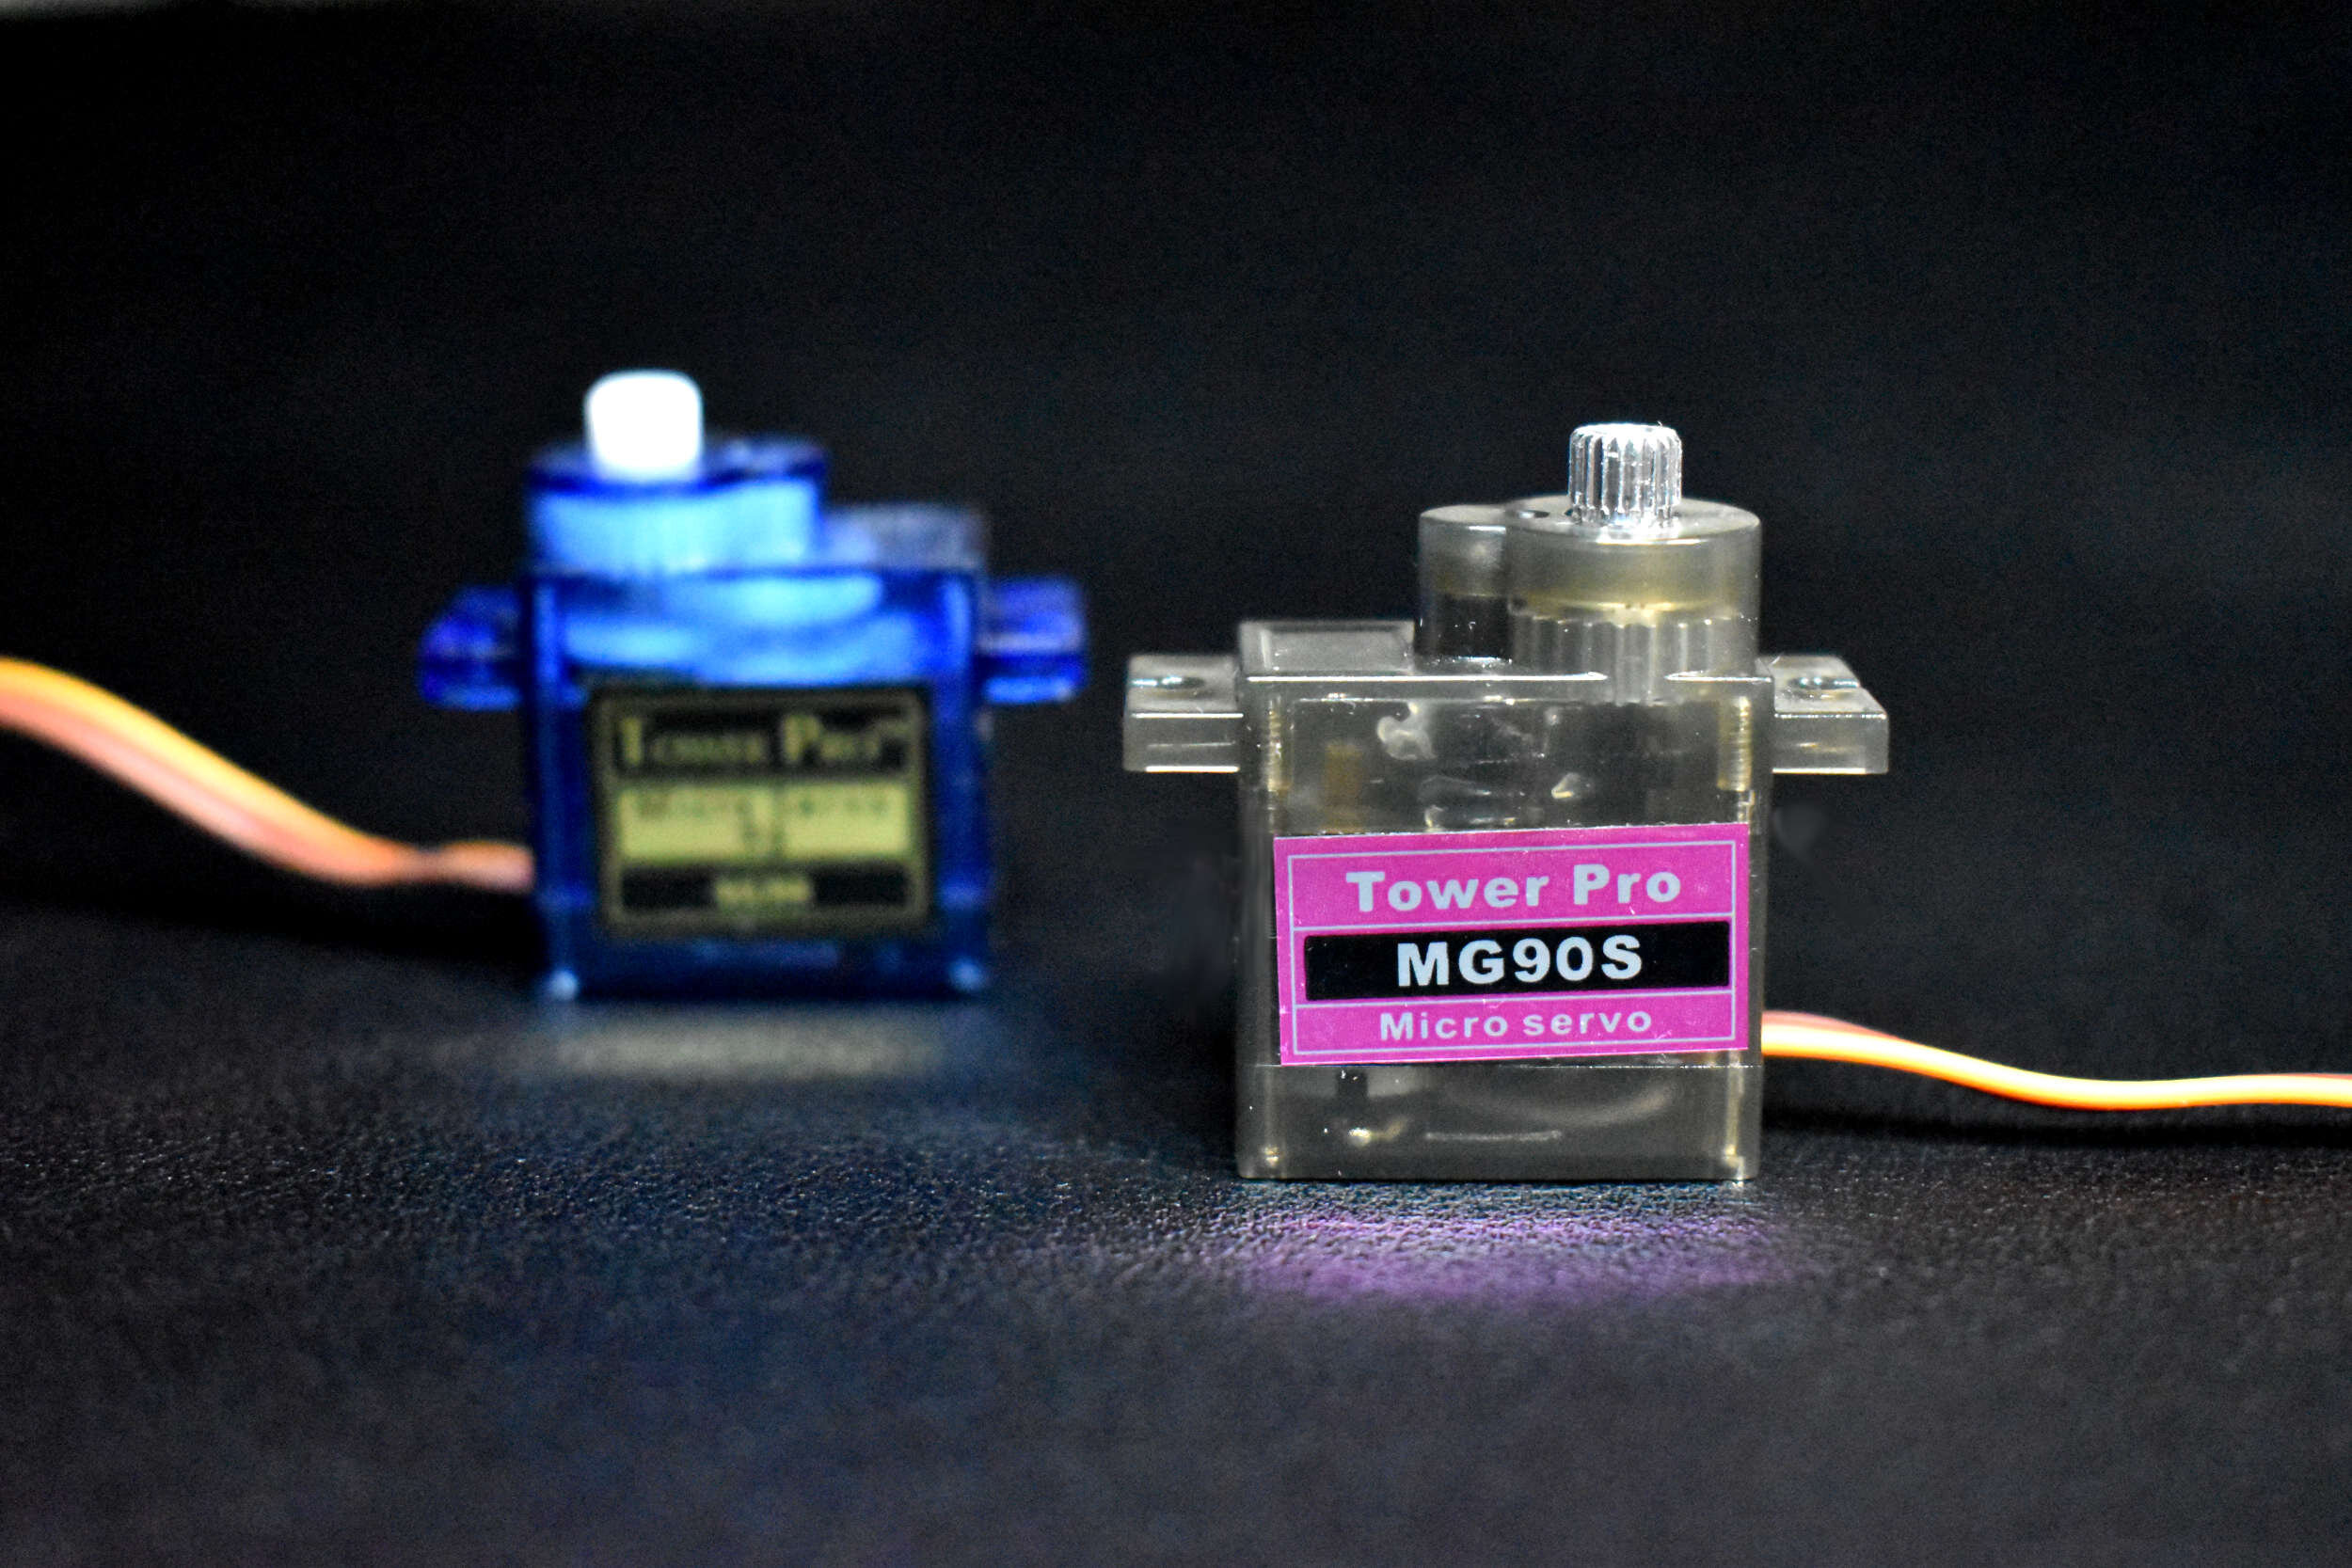
Read MoreIn this tutorial, an Arduino board will be used to power and control a small servo motor. The basics and composition of an SG90 will be explored, and the application of several servo codes and applications will be given for another type of servo motor, the MG90S. The goal of this project is to introduce users into the workings of a servo motor, how PWM (pulse-width modulation) controls a servo motor, and how Arduino can interface with servo motors to produce desired movements to great precision.
Read MoreIn this tutorial, another method of control is introduced that involves manual control using input from the serial monitor. This means each pin can be turned on or off using the human input to the serial monitor. An RGB LED is used to demonstrate the capability of serial monitor control, where each color of the LED is controlled individually using dedicated Arduino pins.
Read MoreIn this tutorial, the Elegoo Arduino-enabled smart car will be explored using various capabilities of the smart car platform. The smart car kit includes an ultrasonic sensor, a line follower module, infrared receiver, and Bluetooth module - which allows for four different types of control and navigation of the vehicle. I will explore the Bluetooth control of the module, as it is the most stable and interesting of the four capabilities. The Elegoo kit contains all of the needed components to control the module, except of course, the smartphone itself. Using the kit and a smartphone, we will be in full control of the four-wheeled smart car, which we can drive forward, left, right, and backwards - all from the control of a smartphone!
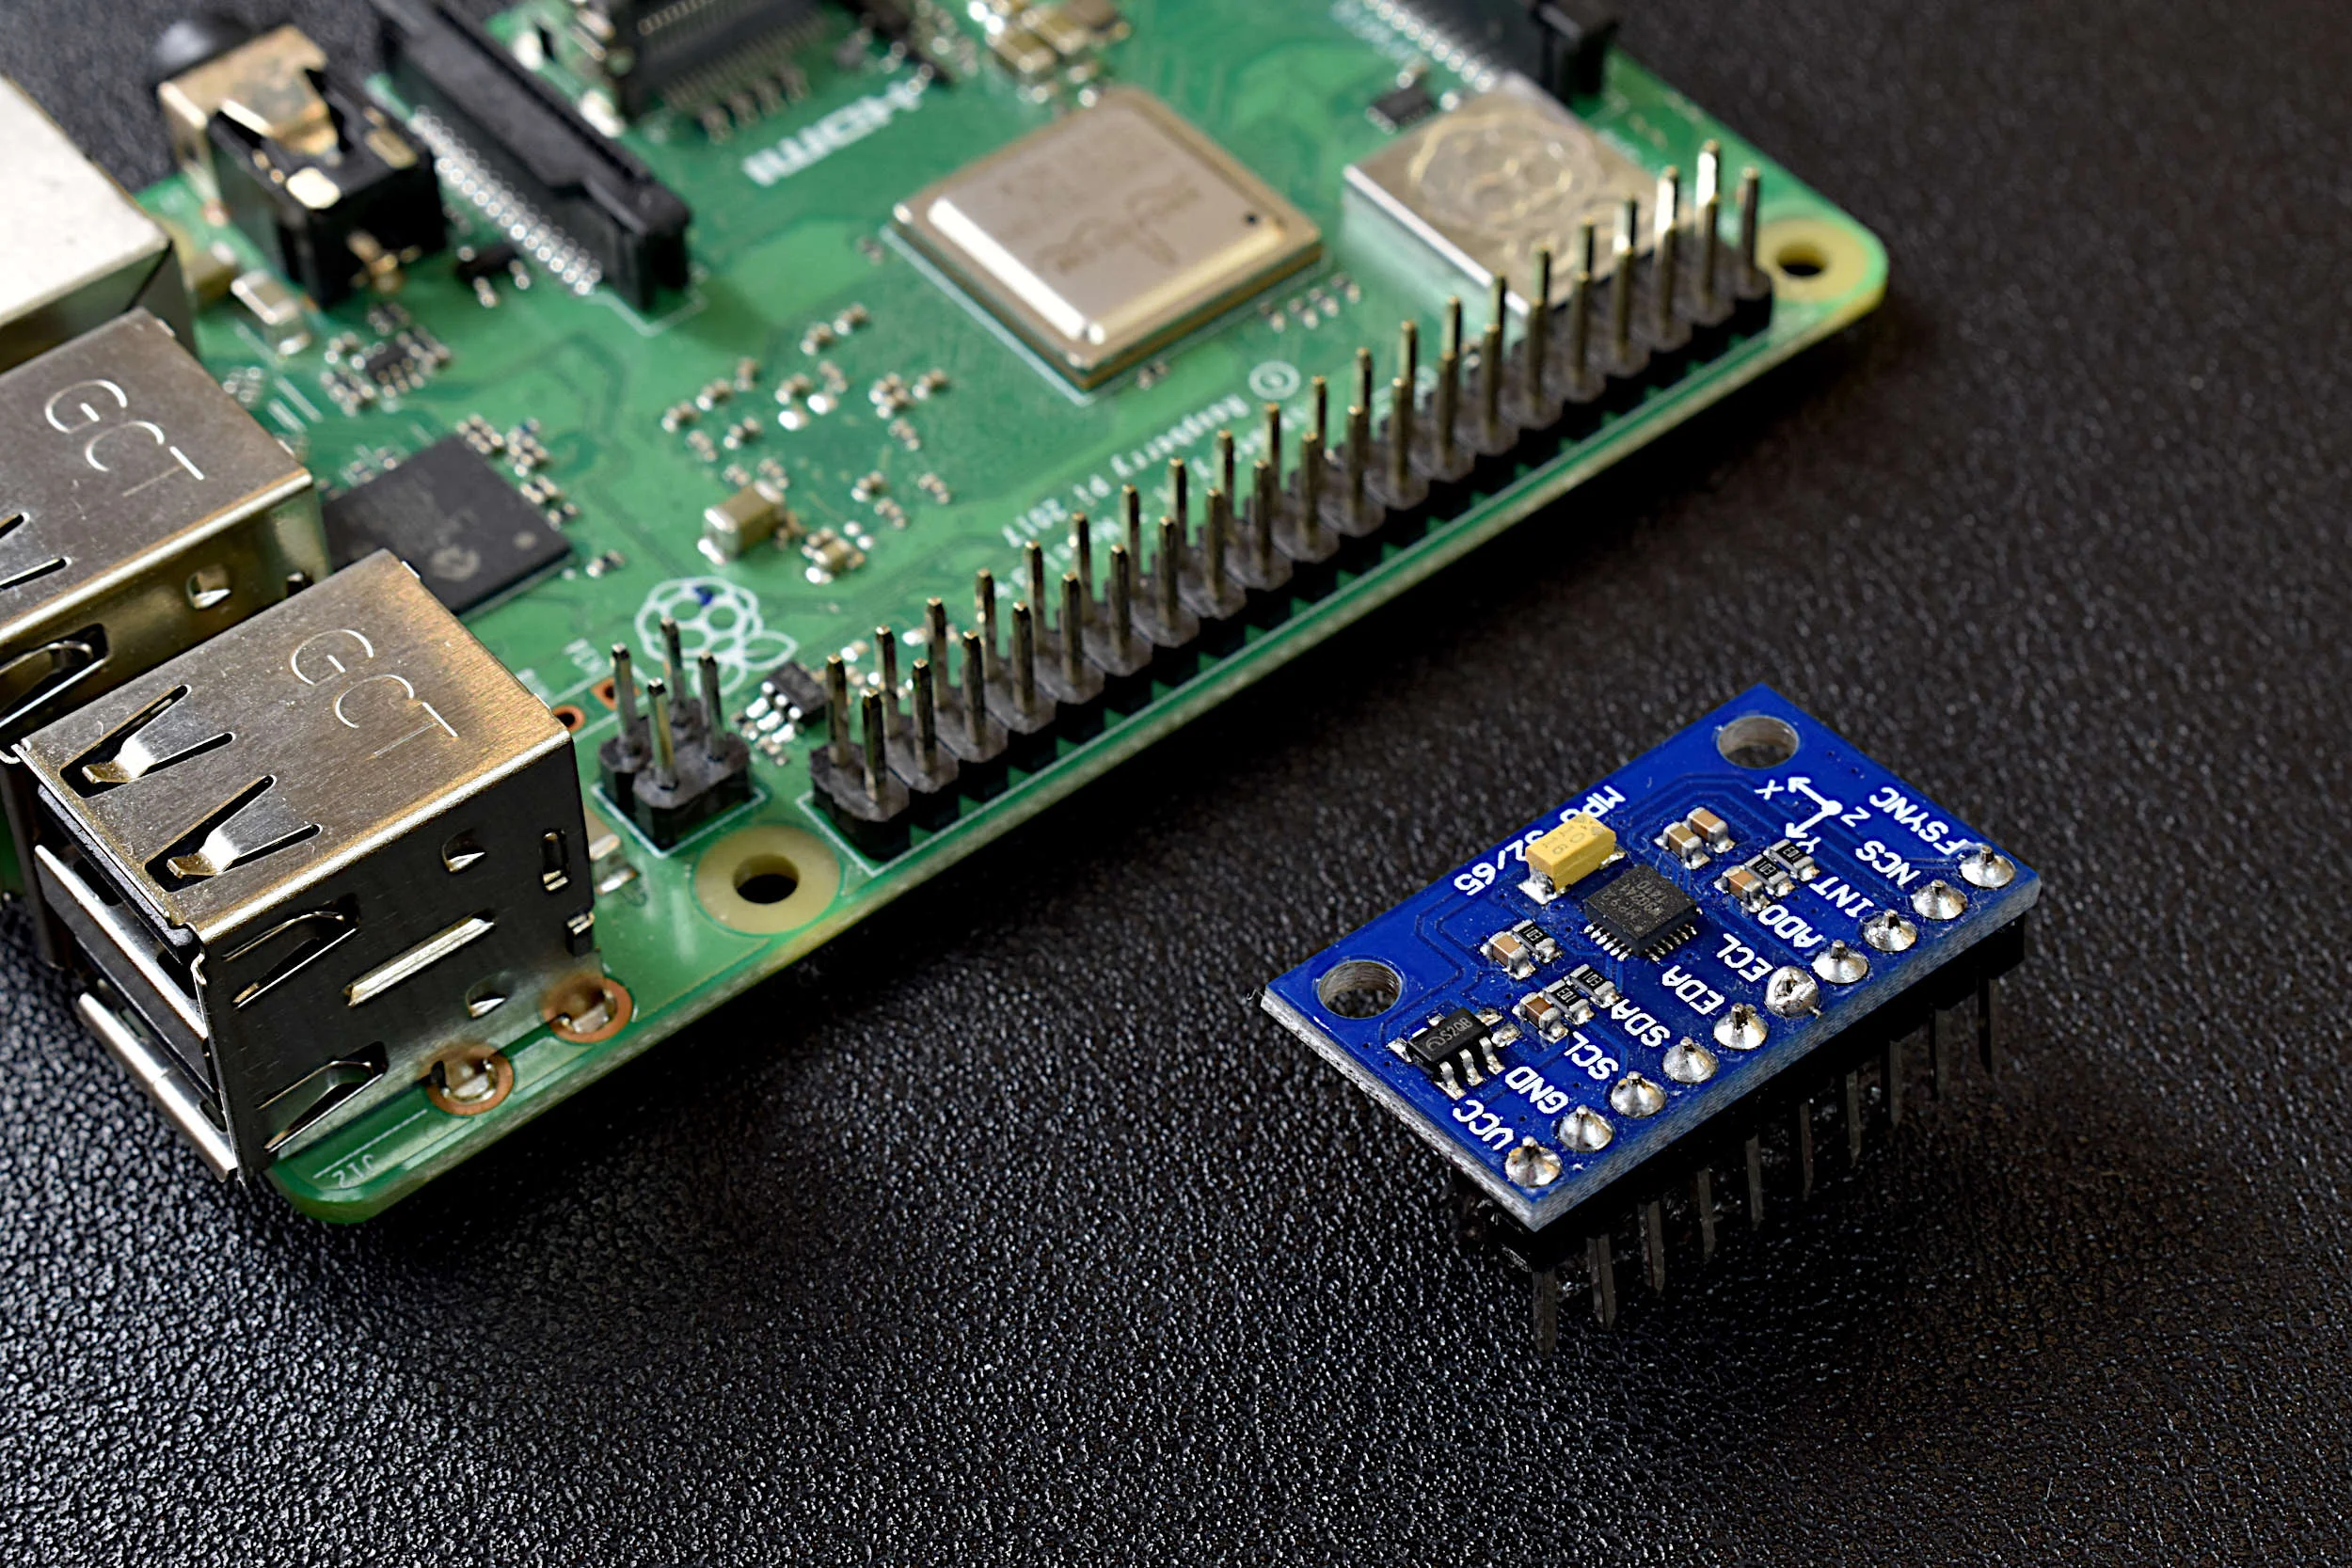
Read MoreA Raspberry Pi will be used to read the MPU9250 3-axis acceleration, 3-axis angular rotation speed, and 3-axis magnetic flux (MPU9250 product page can be found here). The output and limitations of the MPU9250 will be explored, which will help define the limitations of applications for each sensor. This is only the first entry into the MPU9250 IMU series, where in the breadth of the articles we will apply advanced techniques in Python to analyze each of the 9-axes of the IMU and develop real-world applications for the sensor, which may be useful to engineers interested in vibration analysis, navigation, vehicle control, and many other areas.
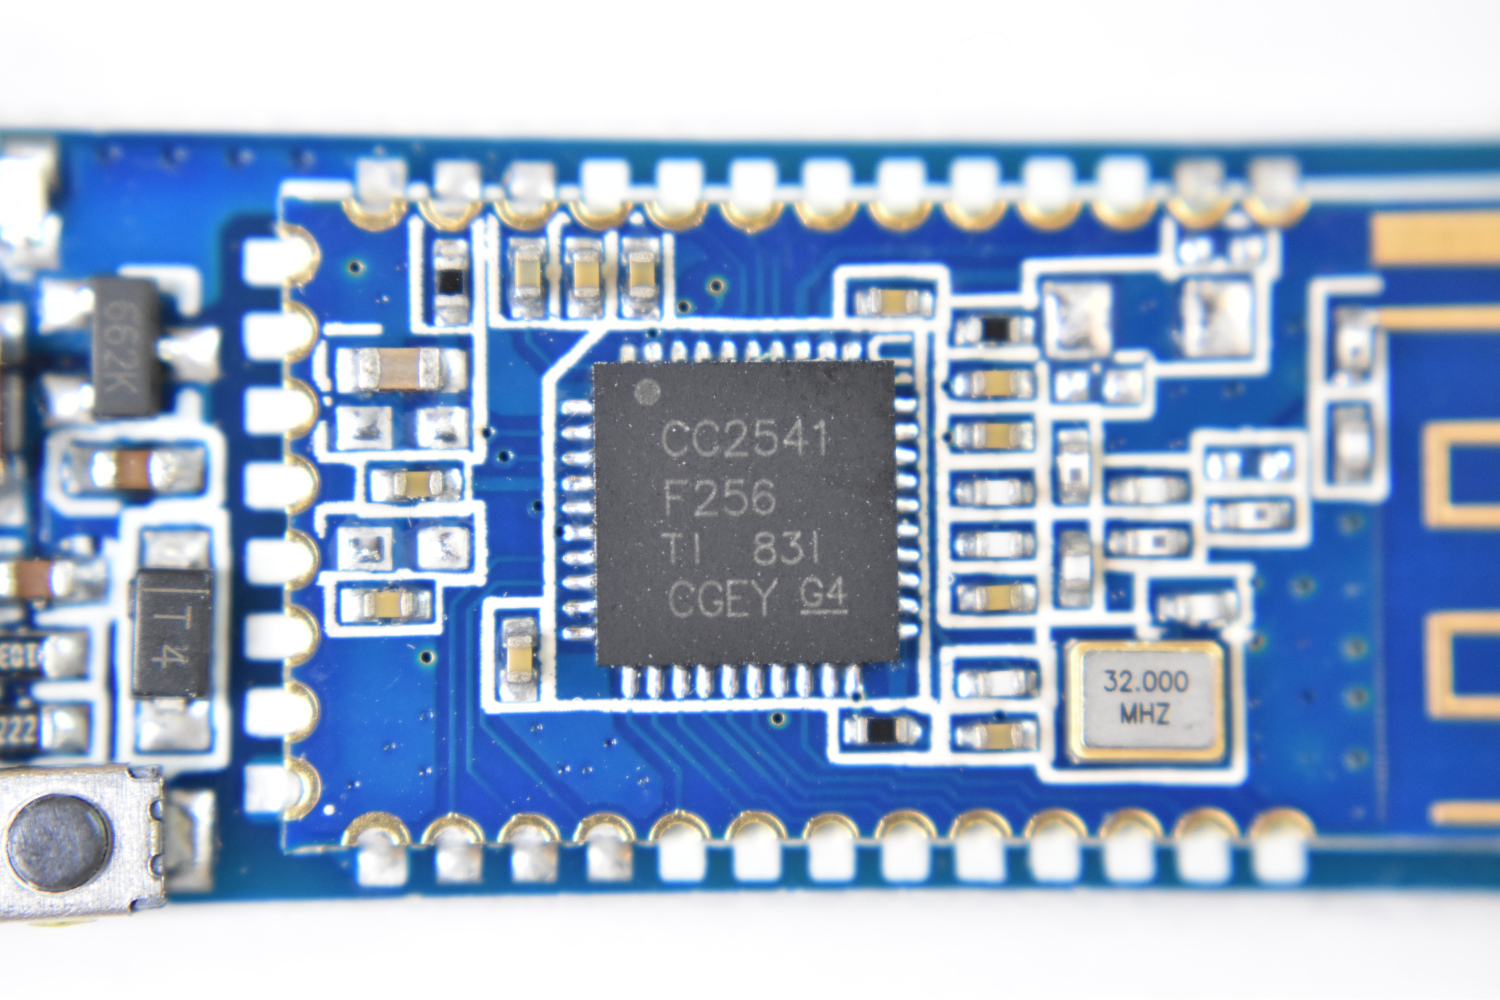
Read MoreIn this tutorial, the ATtiny85 is reintroduced, this time as a Bluetooth-enabled device. First, some of the basics of burning the bootloader to the ATtiny85 and using the Arduino board as an in-system programmer (ISP) are explored. Then, a CC2541 Bluetooth Low Energy (BLE) module is used to communicate with an iOS device using the BLExAR app. Lastly, temperature and humidity data is read by the ATtiny85 and transmitted via Bluetooth to the smartphone.
Read MoreIn this tutorial, I will dive into the variations of CC2541 BLE board such as the AT-09, MLT-BT05, HM-10, JDY-08, etc. I will use either the specific module name or a blanketed “CC2541-based module” reference to refer to the BLE modules. The general process for interfacing with each module is nearly the same, however, some particularities define how each responds and functions depending on the given firmware. I will also be using the BLExAR app for iOS to communicate with the CC2541 modules.
Read MoreLoRa modules, such as the SX1276 used in this tutorial, are widely available and relatively inexpensive, all while being fully compatible with Arduino. LoRa modules are also modular in software and hardware: transmission power is configurable, the modules can be outfitted with antennae, and transmission speed and packet information size are both modifiable. In this tutorial, an Arduino board and SX1276 modules will be used to create a network of long range (LoRa) nodes designed to communicate and transport information. The use of antennae will also help broaden the range of the nodes, and tests in New York City will help quantify the efficiency and cone of functionality for such a node in a complex environment.
Read MoreThe NEO-6 is a miniature GPS module designed by u-blox to receive updates from up to 22 satellite on 50 different channels that use trilateration to approximate fixed position of a receiver device every second (or less, for some modules). The particular module used in this tutorial, the NEO-6M, is capable of updating its position every second and communicates with an Arduino board using UART serial communication. The NEO-6M uses the National Marine Electronics Association (NMEA) protocol which provides temporal and geolocation information such as Greenwich Mean Time (GMT), latitude, longitude, altitude, and approximate course speed. The NEO-6M and Arduino board will also be paired with an SD module to create a portable logger that acts as a retrievable GPS tracker.
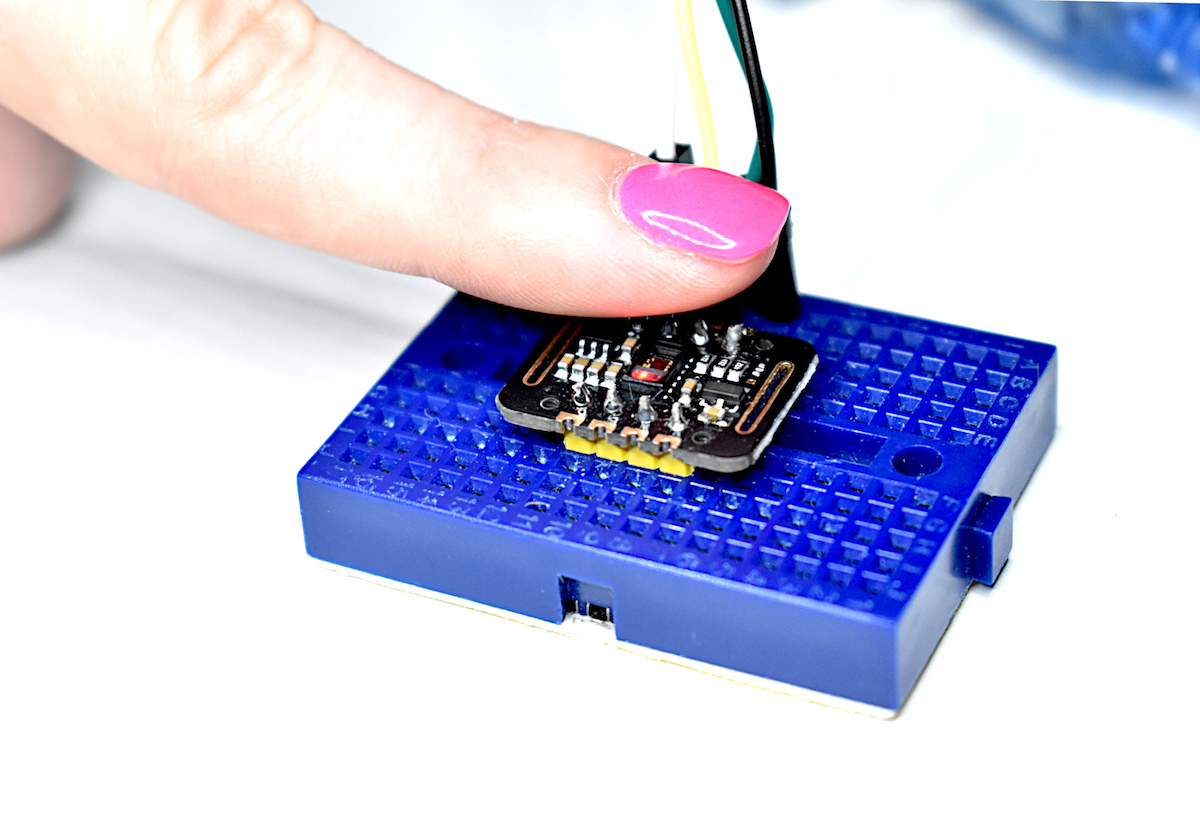
Read MorePulse oximetry monitors the oxygen saturation in blood by measuring the magnitude of reflected red and infrared light [read more about pulse oximetry here and here]. Pulse oximeteters can also approximate heart rate by analyzing the time series response of the reflected red and infrared light . The MAX30102 pulse oximeter is an Arduino-compatible and inexpensive sensor that permits calculation of heart rate using the method described above. In this tutorial, the MAX30102 sensor will be introduced along with several in-depth analyses of the red and infrared reflection data that will be used to calculate parameters such as heart rate and oxygen saturation in blood.
Read MoreThis is a quick and fun tutorial on how to create an inexpensive laser pointer cat toy using DIY parts either found around the maker space or bought for other projects. It is an inexpensive and fun project that almost any maker or engineer could put together in a matter of minutes. It uses a cheap laser that can be found in many electronics kits (I’m using a red, 650 nm), a small button, and a 3.7V LiPo battery.
Read MoreIn this tutorial, the SAMD21 M0 Mini is introduced, which is a variation of the Arduino Zero (SAMD21 48MHz). The SAMD21 board will be tested specifically in its speed and compatibility with several Arduino libraries. Particularly, the SAMD21 is the most powerful when harnessing its speed, but also in other areas such as analog to digital conversion. The SAMD21 core is a 32-bit microcontroller that will likely replace the traditional ATmega328 (8-bit microcontroller) over time. The SAMD21 core boasts 48MHz clock speeds in contrast to the 20MHz ATmega boards, while also being fully-compatible with many of the capabilities of the Arduino platform.
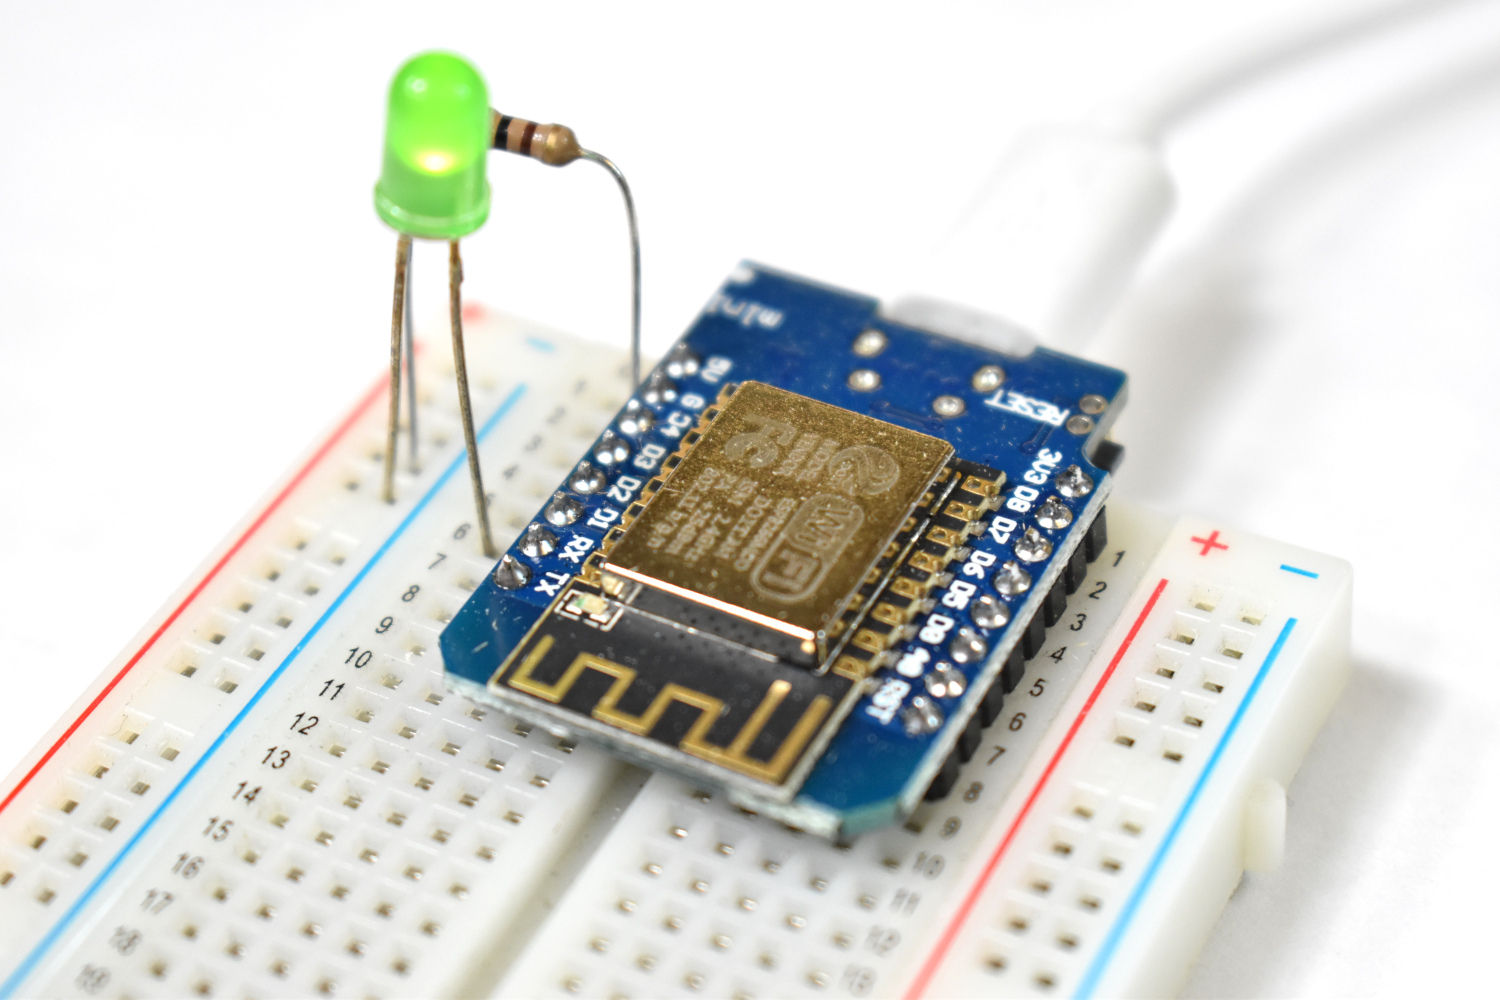
Read MoreThe WeMos D1 Mini is an inexpensive ESP8266-based WiFi board that is low-profile but just as powerful as any NodeMCU or ESP8266-based microcontroller. The D1 Mini is incredibly versatile because it is inexpensive, WiFi-enabled, and fully compatible with the Arduino platform. In this tutorial, the ESP8266 library and board manager will be introduced in order to get the D1 Mini acting as an Arduino board. Then, a simple web page will be introduced with the intention of harnessing the WiFi capabilities of the module. The D1 Mini will act as a web server, allowing any WiFi-connected device to interact with the board and control its pins wirelessly.
Read MoreOptical fingerprint sensors take low-resolution snapshots of the tip of a finger and create arrays of identifiers that are then used to uniquely identify a given fingerprint. The AS608 is capable of storing up to 128 individual fingerprints. This tutorial will introduce the AS608 Arduino-compatible fingerprint sensor and how to validate and reject fingerprints based on the enrolled fingerprint information that will be given to the sensor. The fingerprint algorithm is handled by the AS608 and Arduino, so this tutorial will focus on implementation and putting the pieces together to make a working fingerprint sensor with Arduino.
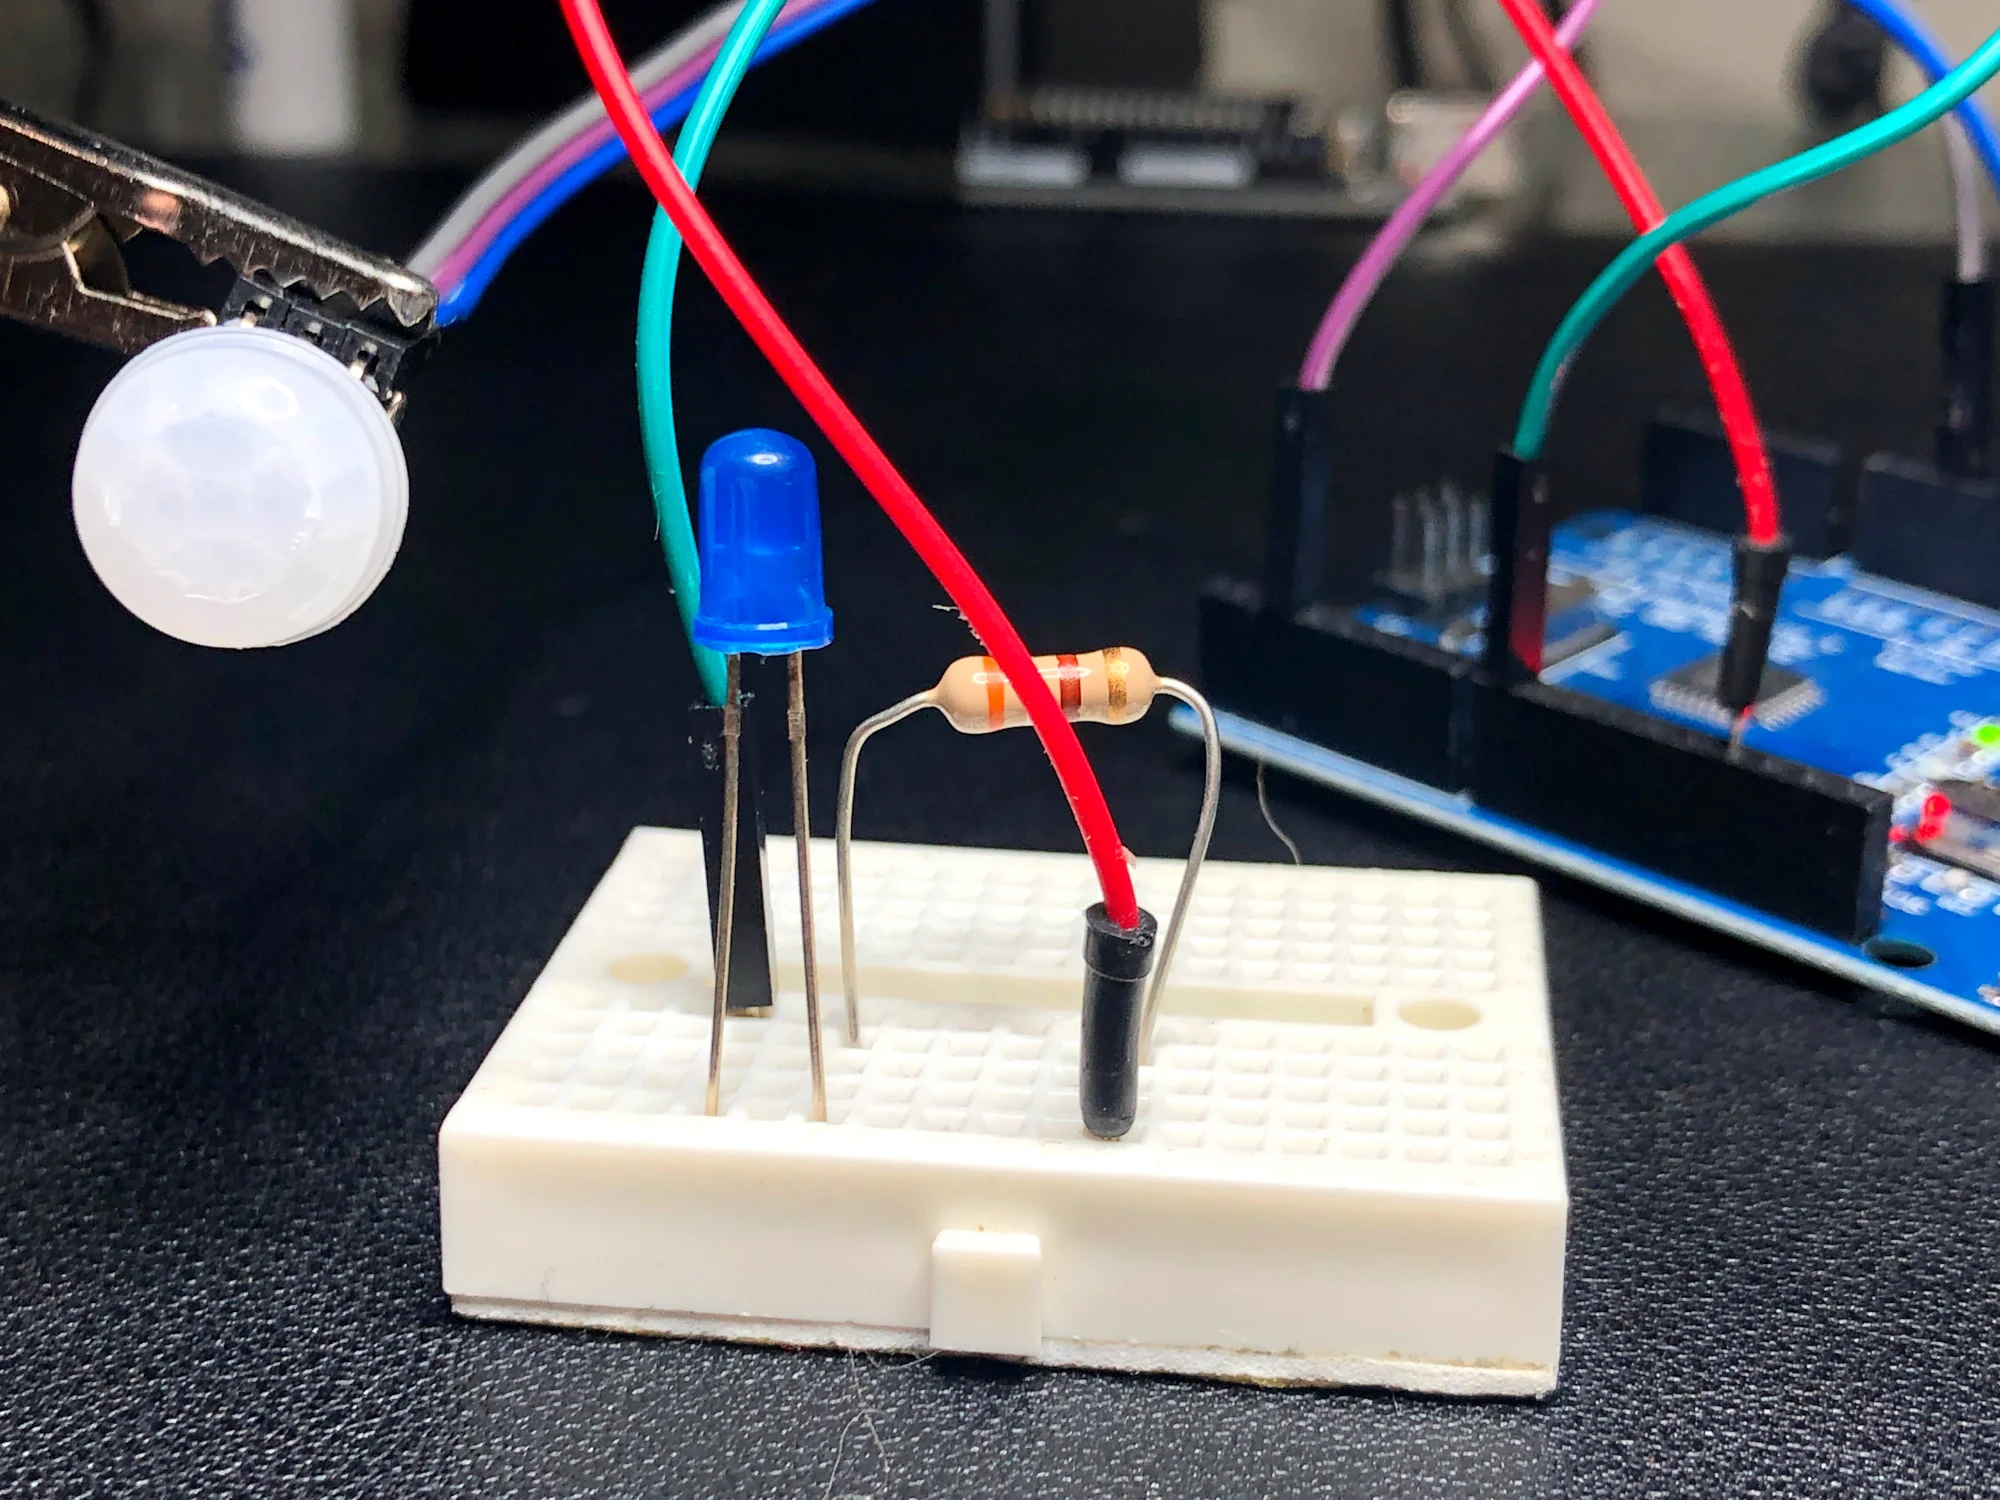
Read MoreThe basics of Arduino’s hardware interrupt is explored through the use of a passive infrared (PIR) sensor. The passive infrared sensors used here operate at voltages from 2.7V - 5V and use very little energy when operating in the non-tripped state. The PIR sensor is ultimately tripped by an infrared source, typically human body heat (or another animal with similar radiative emission). When the PIR sensor is tripped it sends a HIGH signal to its OUT pin, which will be read by the Arduino’s interrupt pin (pin 2 or 3 on the Uno board). This process seems trivial, but when done correctly can save massive amounts of energy when dealing with battery-powered systems, as in home automation.
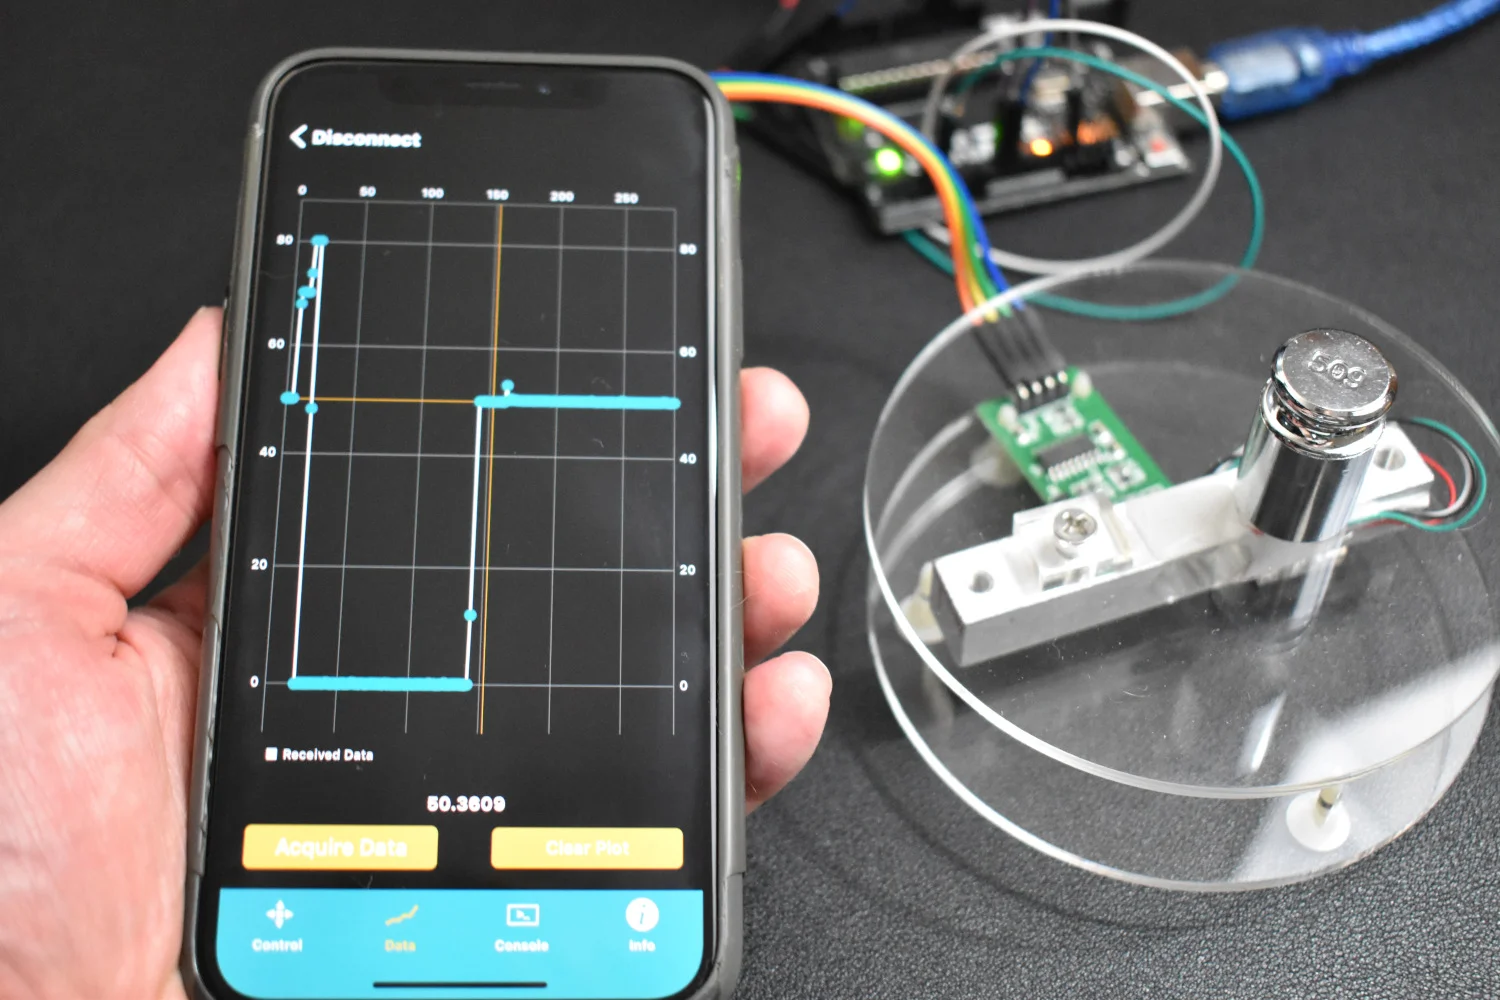
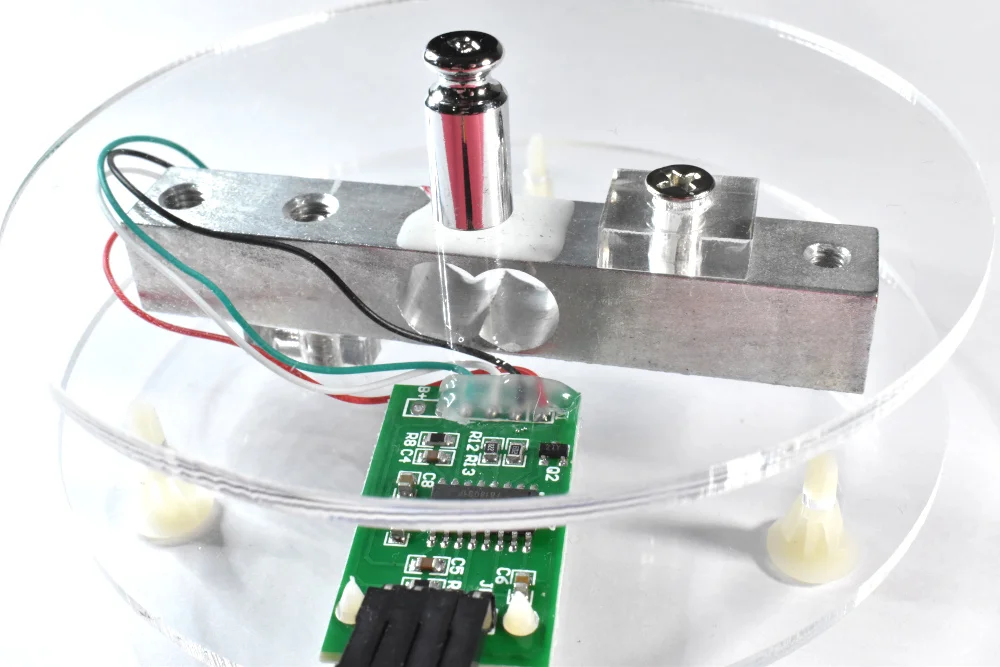
Read MoreIn this tutorial, I introduce an Arduino-based weighing scale that uses a load cell, analog-to-digital converter, and calibrated mass. I introduce calibration with known masses to create a powerful and accurate weighing system that can be used for highly accurate measurement purpose such as: chemistry, horticulture, cooking, and much more!
Read MoreIn this tutorial, I introduce an Arduino-based weighing scale that uses a load cell, analog-to-digital converter, and calibrated mass. I introduce calibration with known masses to create a powerful and accurate weighing system that can be used for highly accurate measurement purpose such as: chemistry, horticulture, cooking, and much more!
Read MoreThe Raspberry Pi has a dedicated camera input port that allows users to record HD video and high-resolution photos. Using Python and specific libraries written for the Pi, users can create tools that take photos and video, and analyze them in real-time or save them for later processing. In this tutorial, I will use the 5MP picamera v1.3 to take photos and analyze them with Python and an Pi Zero W. This creates a self-contained system that could work as an item identification tool, security system, or other image processing application. The goal is to establish the basics of recording video and images onto the Pi, and using Python and statistics to analyze those images.
Read MoreThis tutorial will explore the range of capabilities available to the Arduino SD library by using a real-world example of data logging. The SD library allows users to read/write, list files, create/remove files, and make/delete directories. Additionally, we will develop an algorithm that creates a new file every time the Arduino board is restarted, which will prevent overwriting of existing data records. The resulting data file will be in comma separated format and contain multiple data points, including a time stamp in milliseconds since the program started. Therefore, it is important to record the program start time. For very accurate time monitoring tasks, a real-time clock is recommended, however, for the experiments conducted here, relative time suffices.
Read More
