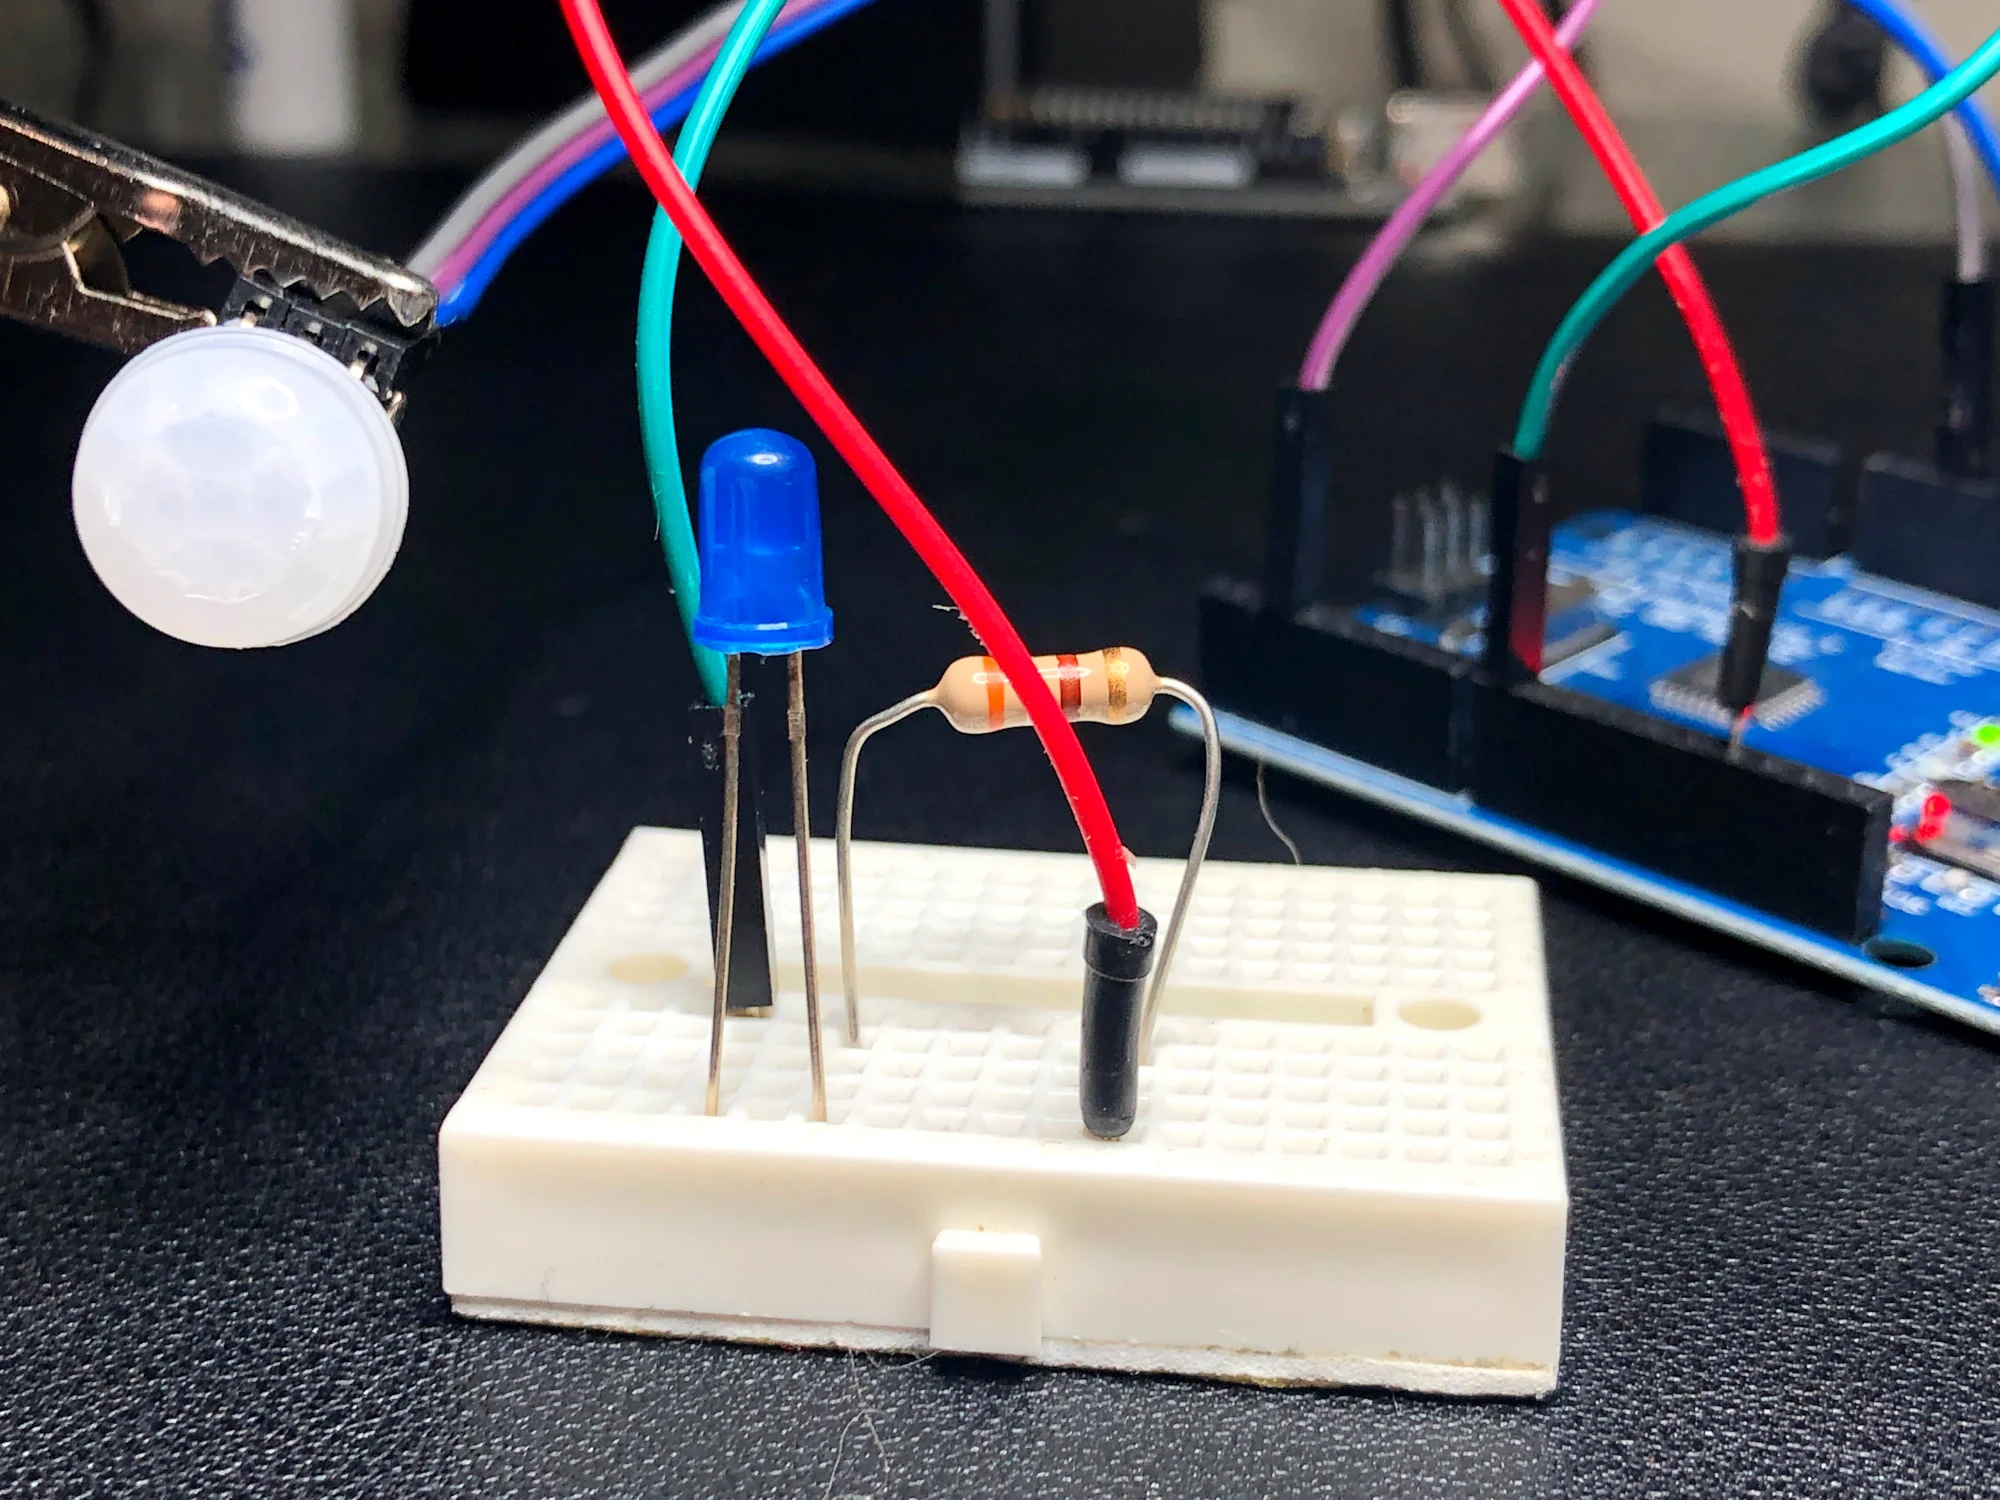
The basics of Arduino’s hardware interrupt is explored through the use of a passive infrared (PIR) sensor. The passive infrared sensors used here operate at voltages from 2.7V - 5V and use very little energy when operating in the non-tripped state. The PIR sensor is ultimately tripped by an infrared source, typically human body heat (or another animal with similar radiative emission). When the PIR sensor is tripped it sends a HIGH signal to its OUT pin, which will be read by the Arduino’s interrupt pin (pin 2 or 3 on the Uno board). This process seems trivial, but when done correctly can save massive amounts of energy when dealing with battery-powered systems, as in home automation.
Read More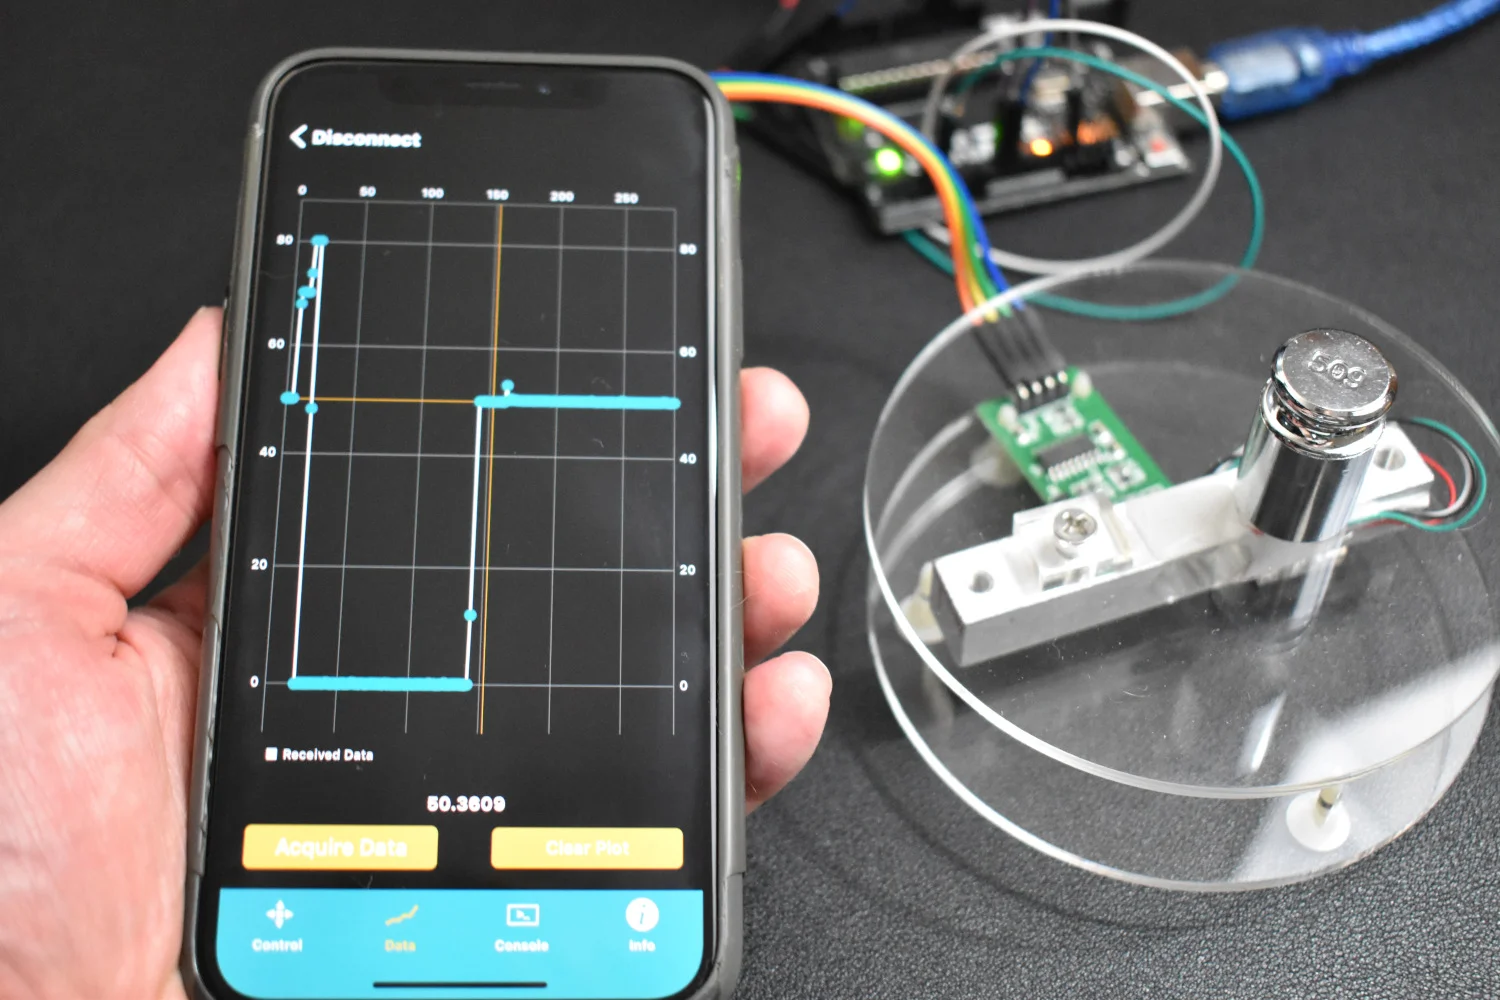
In this tutorial, I introduce an Arduino-based weighing scale that uses a load cell, analog-to-digital converter, and calibrated mass. I introduce calibration with known masses to create a powerful and accurate weighing system that can be used for highly accurate measurement purpose such as: chemistry, horticulture, cooking, and much more!
Read More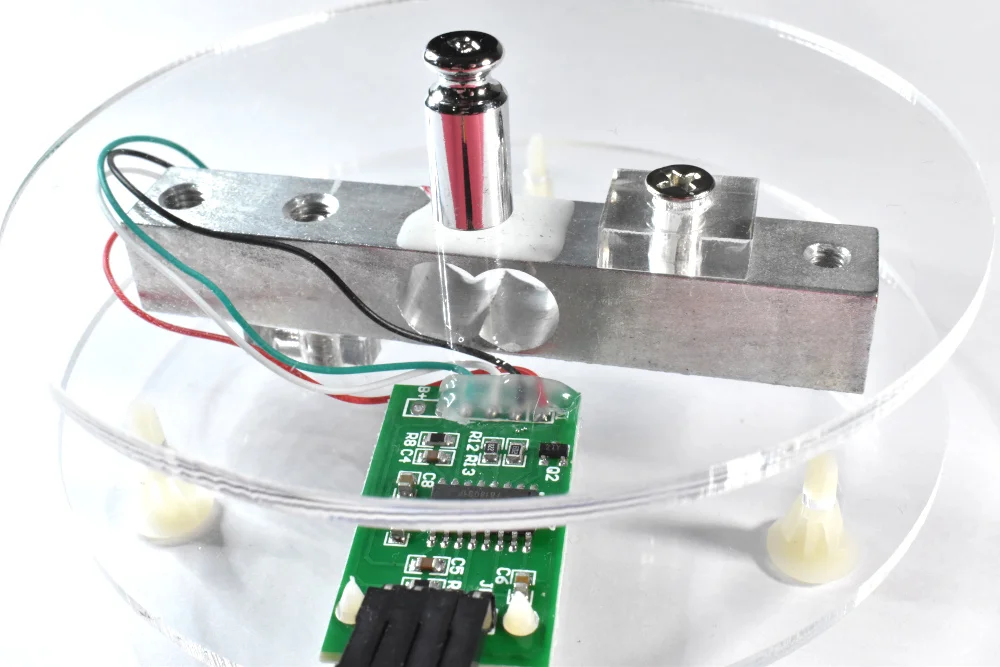
In this tutorial, I introduce an Arduino-based weighing scale that uses a load cell, analog-to-digital converter, and calibrated mass. I introduce calibration with known masses to create a powerful and accurate weighing system that can be used for highly accurate measurement purpose such as: chemistry, horticulture, cooking, and much more!
Read More
Time of flight (ToF) is an approximation of the time it takes a traveling wave to come in contact with a surface and reflect back to the source. Time of flight has applications in automotive obstacle detection, resolving geographic surface composition, and computer vision and human gesture recognition. In the application here, the VL53L1X ToF sensor will be used to track the displacement of a ping pong ball falling down a tube. We can predict the acceleration and behavior of a falling ping pong ball by balancing the forces acting on the ball, and ultimately compare the theory to the actual displacement tracked by the time of flight sensor.
Read More
This tutorial will explore the range of capabilities available to the Arduino SD library by using a real-world example of data logging. The SD library allows users to read/write, list files, create/remove files, and make/delete directories. Additionally, we will develop an algorithm that creates a new file every time the Arduino board is restarted, which will prevent overwriting of existing data records. The resulting data file will be in comma separated format and contain multiple data points, including a time stamp in milliseconds since the program started. Therefore, it is important to record the program start time. For very accurate time monitoring tasks, a real-time clock is recommended, however, for the experiments conducted here, relative time suffices.
Read More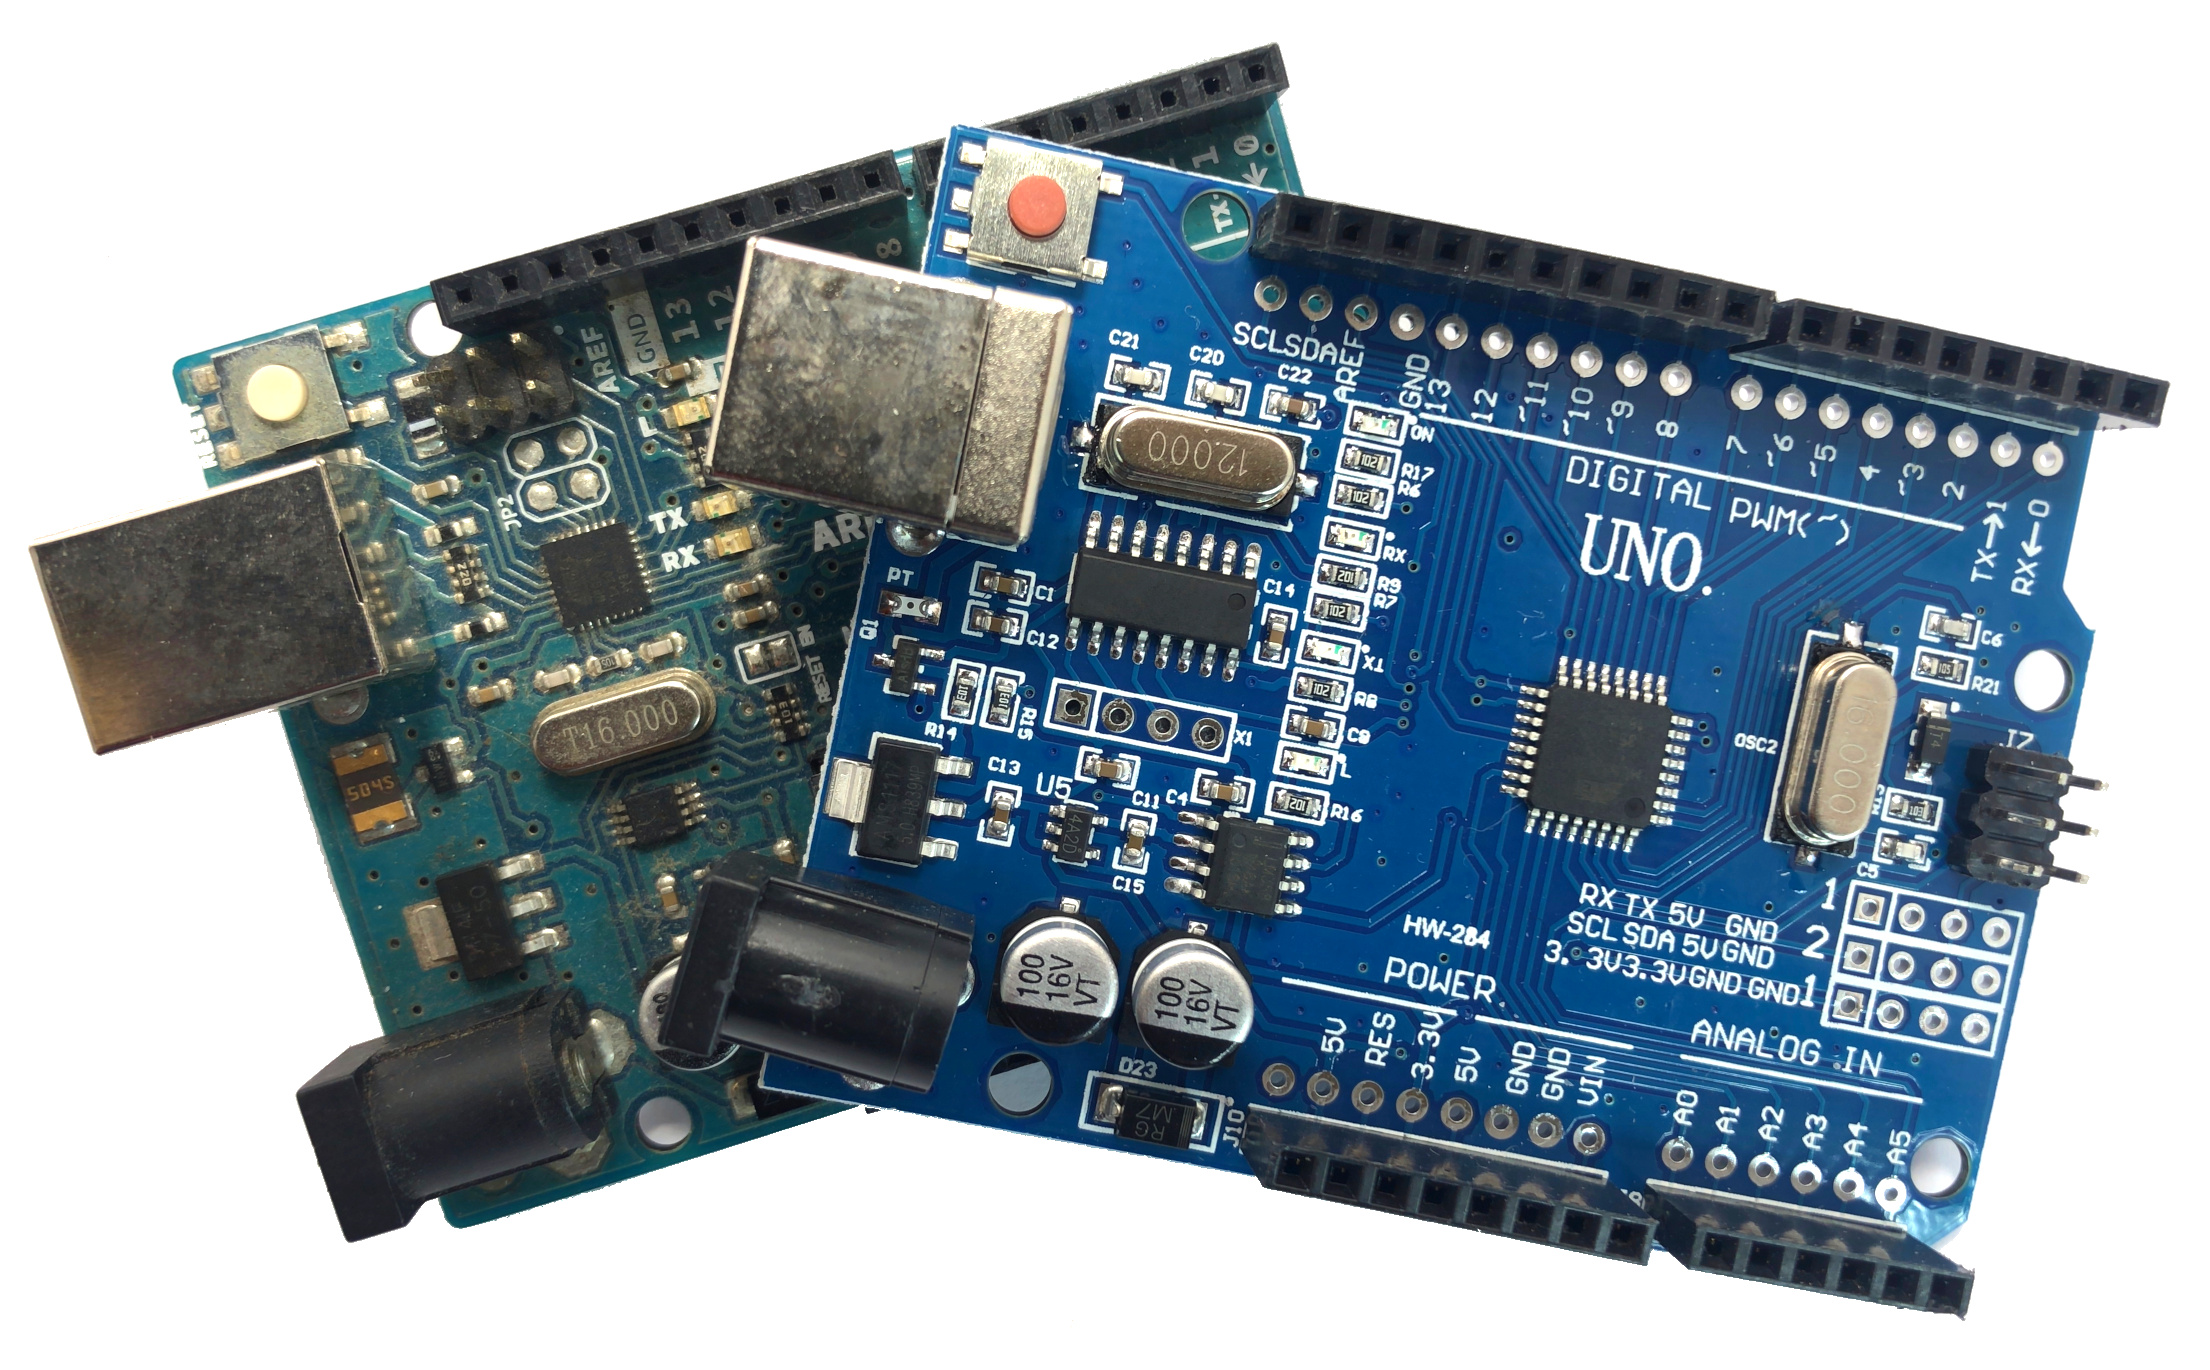
The CH340 Arduino board contains an ATmega328P-U-TH chip, which differs from the classic ATmega328P-PU in official Arduino Uno Rev3 boards. The CH340 is an inexpensive USB-to-Serial chip (datasheet here) that takes the place of the Rev3 board’s more expensive ATmega16U2. This creates issues when programming the Arduino board with certain operating systems (specifically Windows), however, for most Linux and Mac systems - there appears to be no issue. In this tutorial, I will explore the CH340 Arduino board to see whether there are differences in performance and power under different operating conditions. This will definitively answer whether the CH340 is a worthy alternative to the Rev3 or if it’s just a cheap imposter.
Read More
A demultiplexer will be used to control 8 LEDs using just 3 digital pins on the Arduino board. This method of demultiplexing frees up pins on the Arduino, but also makes control of multiple LEDs easier by consolidating the power given to each LED. This will allow us to use LEDs without resistors. In general, a demultiplexer uses N boolean outputs to control 2N switches. In our case, the CD4051 multiplexer will be used as a demultiplexer using 3 digital pins and boolean logic to control 8 individual LEDs. Several skills will also be developed, specifically with regard to programming in the Arduino programming language. Pulse-width modulation (or brightening and dimming) of LEDs will be explored, as well as randomization of LED blinks, along with the general selection process for boolean switching with the demultiplexer.
Read More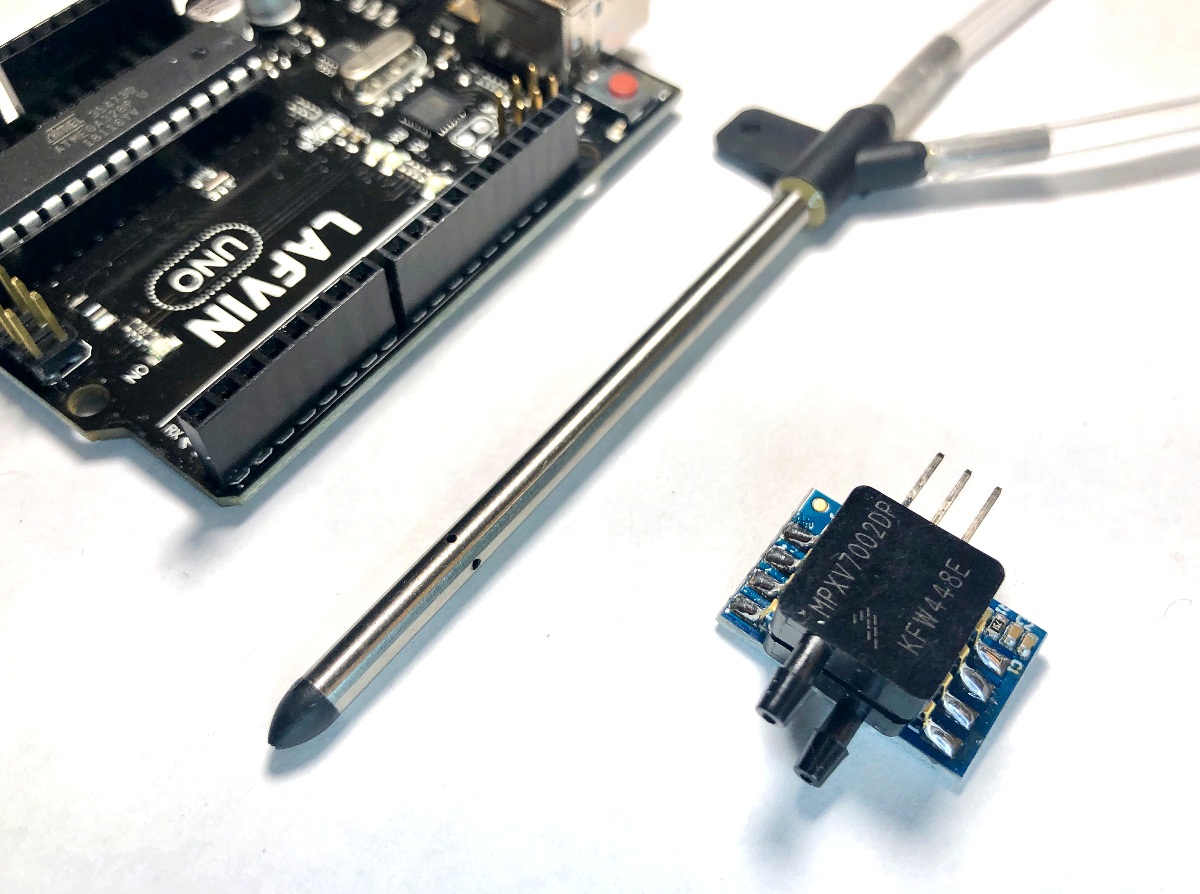
The pitot tube is a device used to approximate the speed of vehicles traveling by air and water. An in-depth article on NASA's website is dedicated to pitot tubes (also called pitot-static tubes, Prandtl tubes), where it cites the primary application as airspeed indicator on aircraft. For more information on design and limitations of the instrument, I recommend perusing that page. For this tutorial, only the basic theory is explored using Bernoulli's equation and a practical application. An inexpensive pitot tube and a digital differential pressure sensor are used to measure pressure, which is converted to a digital signal using an Arduino board.
Read More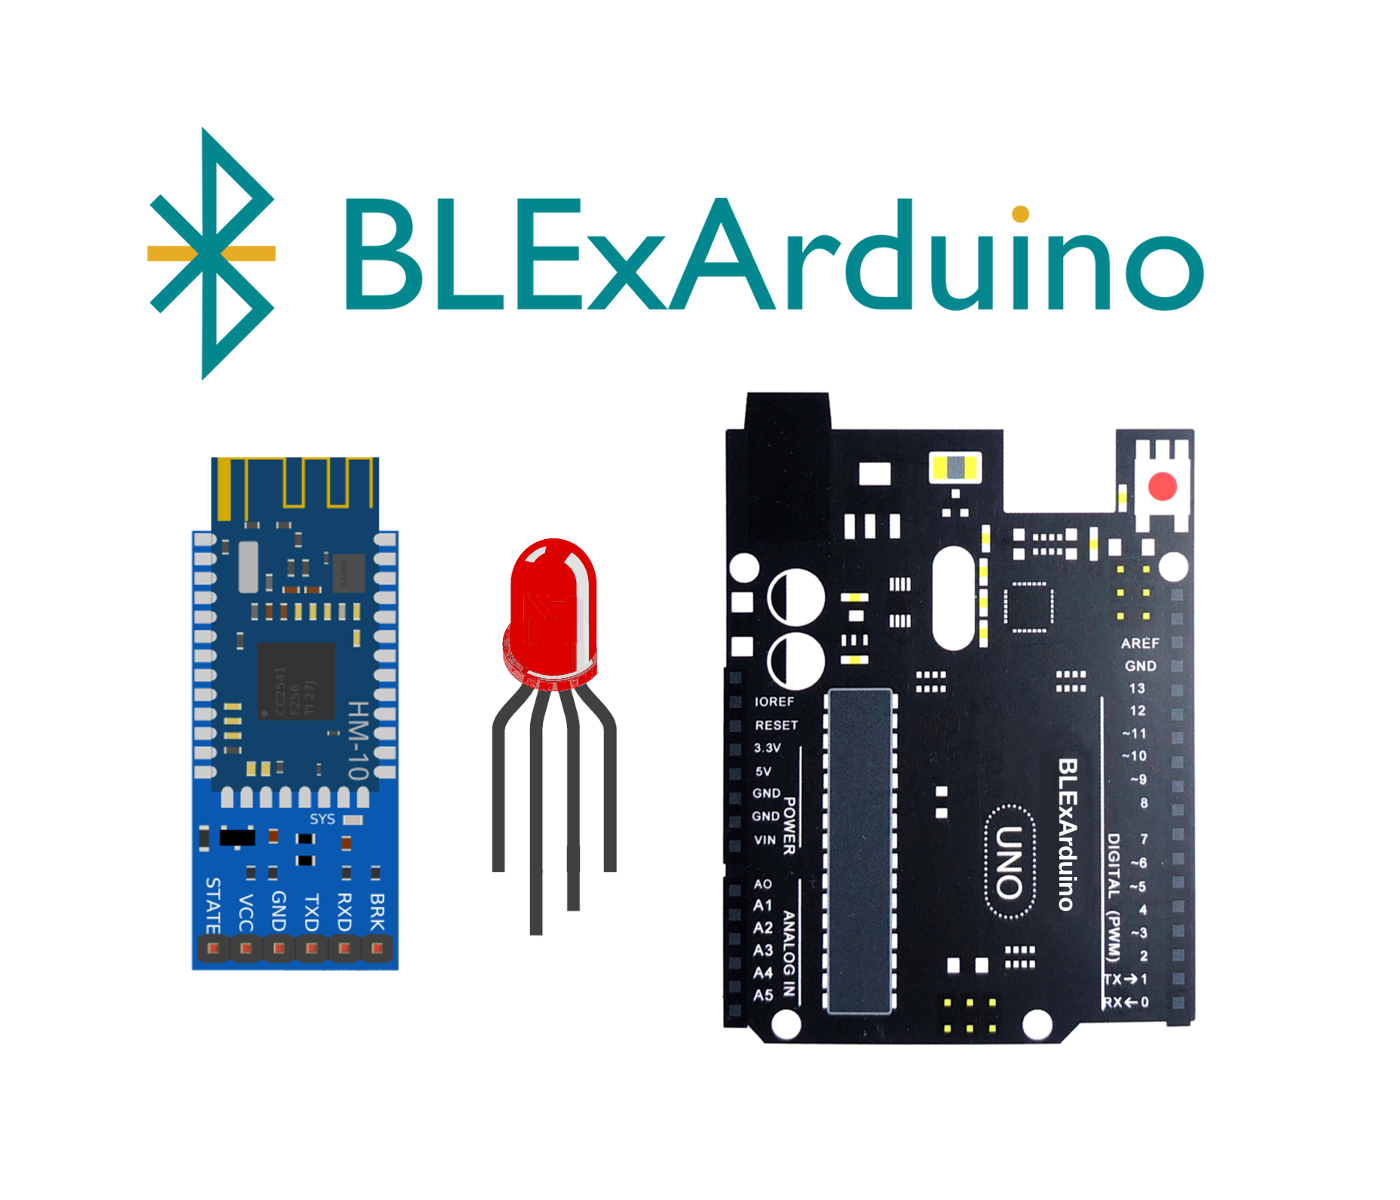
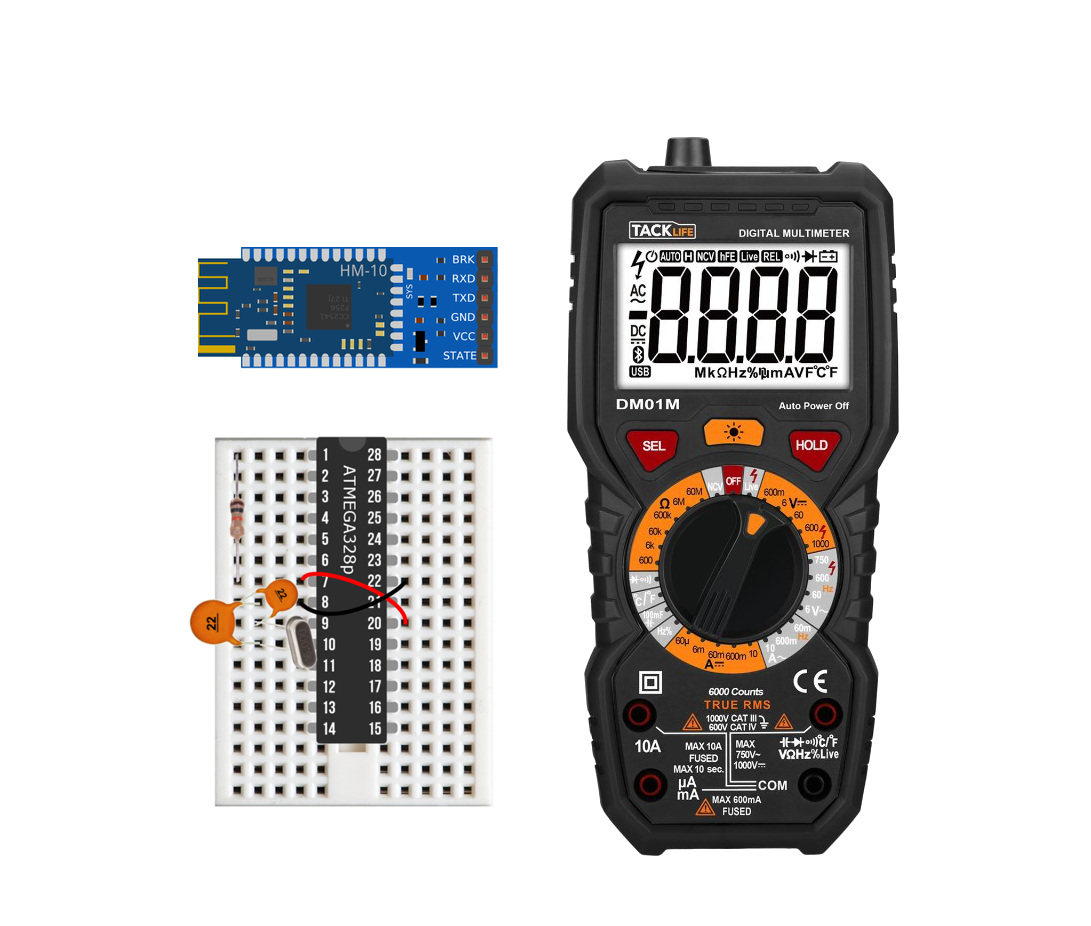
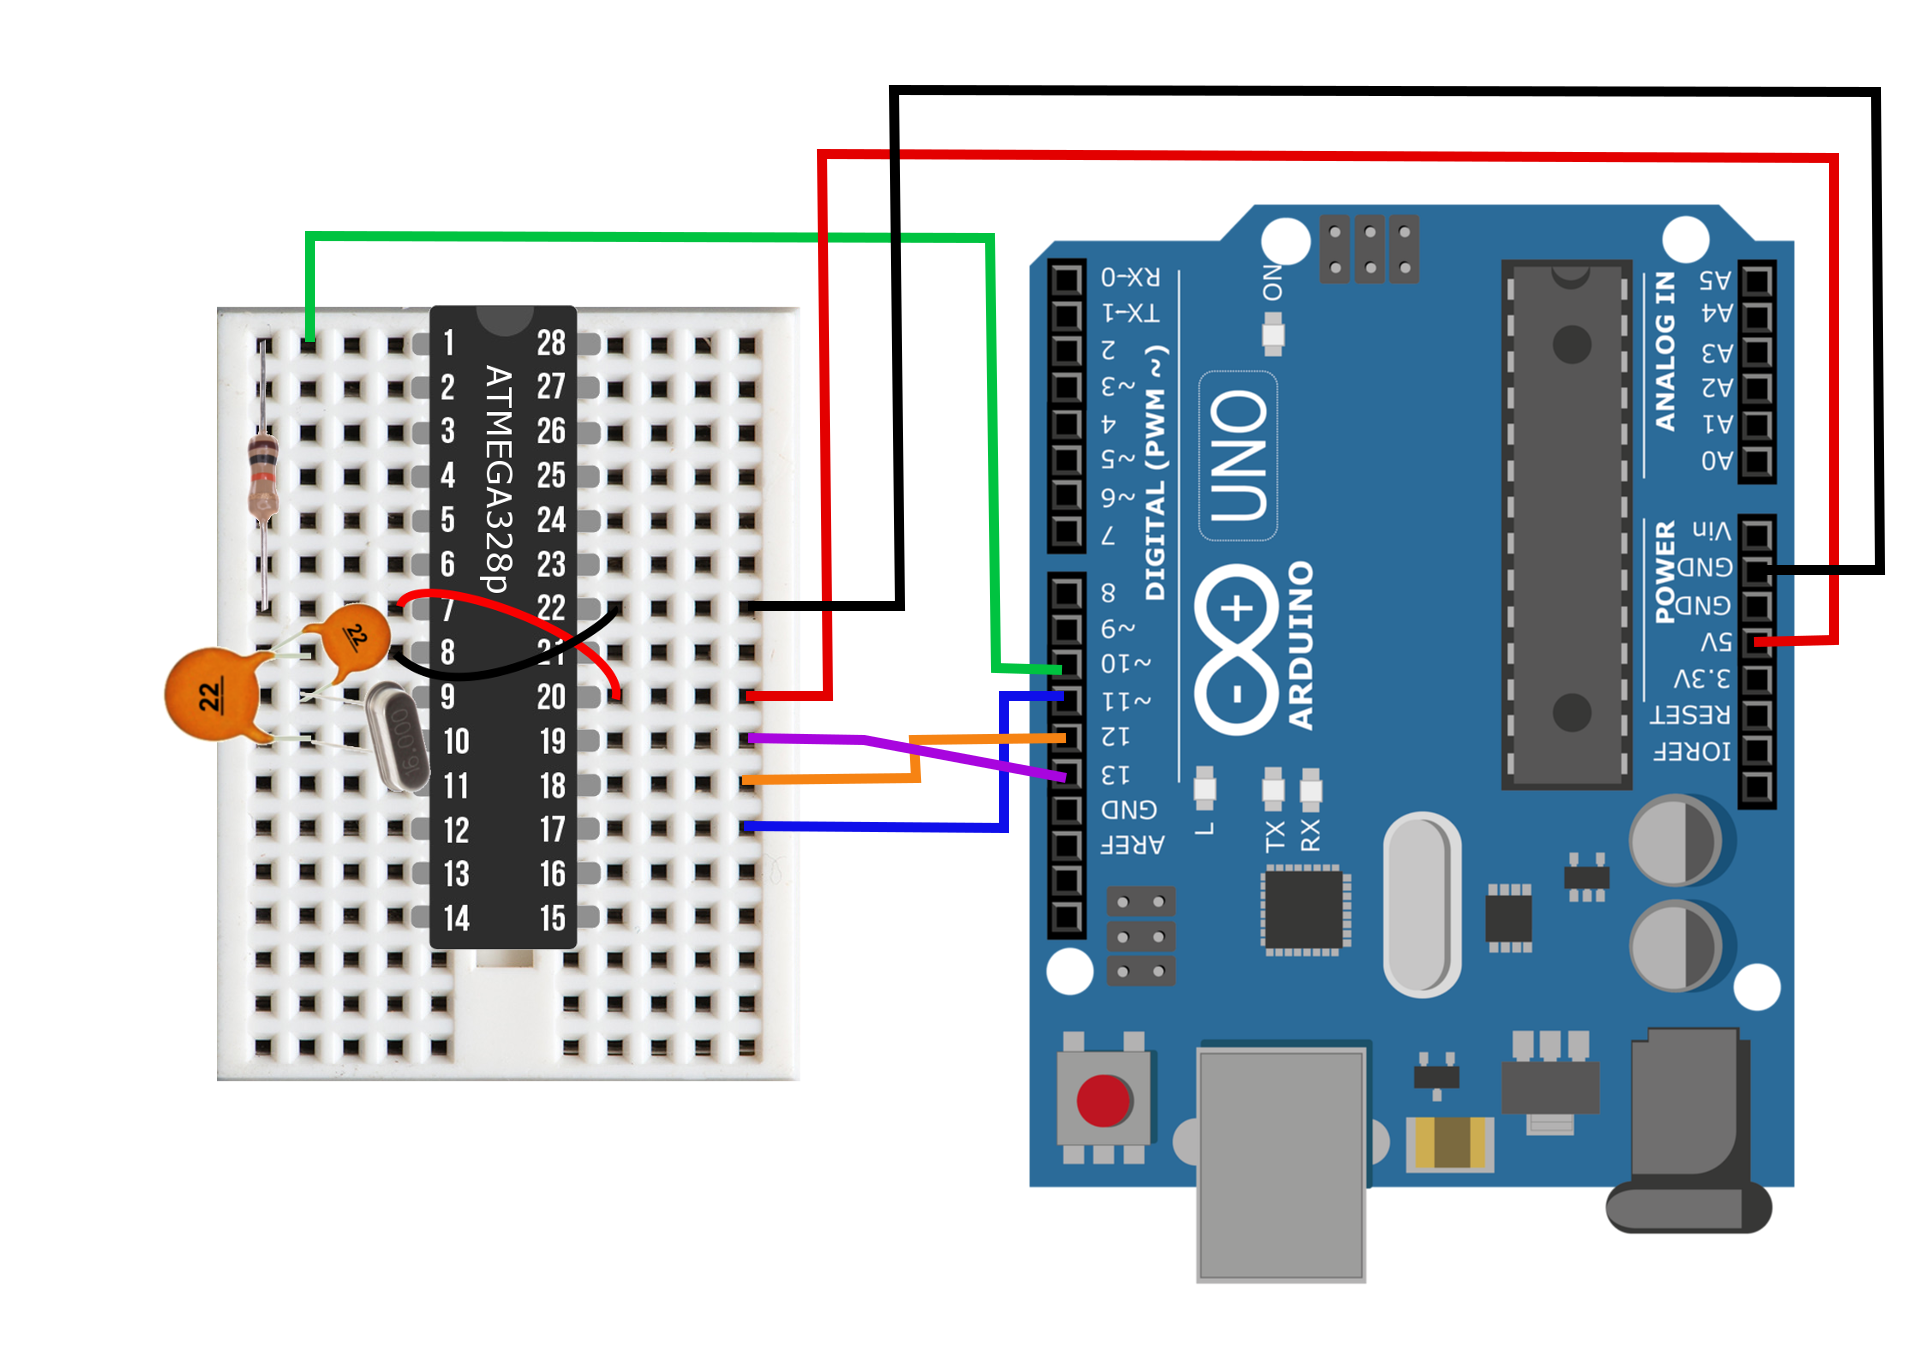
Control an RGB LED using three PWM pins on an Arduino Uno board via Bluetooth communication. An RGB LED is a single casing with three cathode (or anode) pins and one anode (or cathode) pin. This results in a 4-pin LED. In this tutorial, I will be using an RGB LED with three anodes and one common cathode. This means that we can change the color of the LED to over 16.7 million different variations (assuming each anode produces a different luminosity for each voltage change of the Arduino PWM pin). This tutorial will help demonstrate the power of the BLExAR app, and the flexibility of an Arduino board under iOS Bluetooth control. In my case, I will be using an iPhone with the BLExAR app, but an iPad would suffice as well.
Read More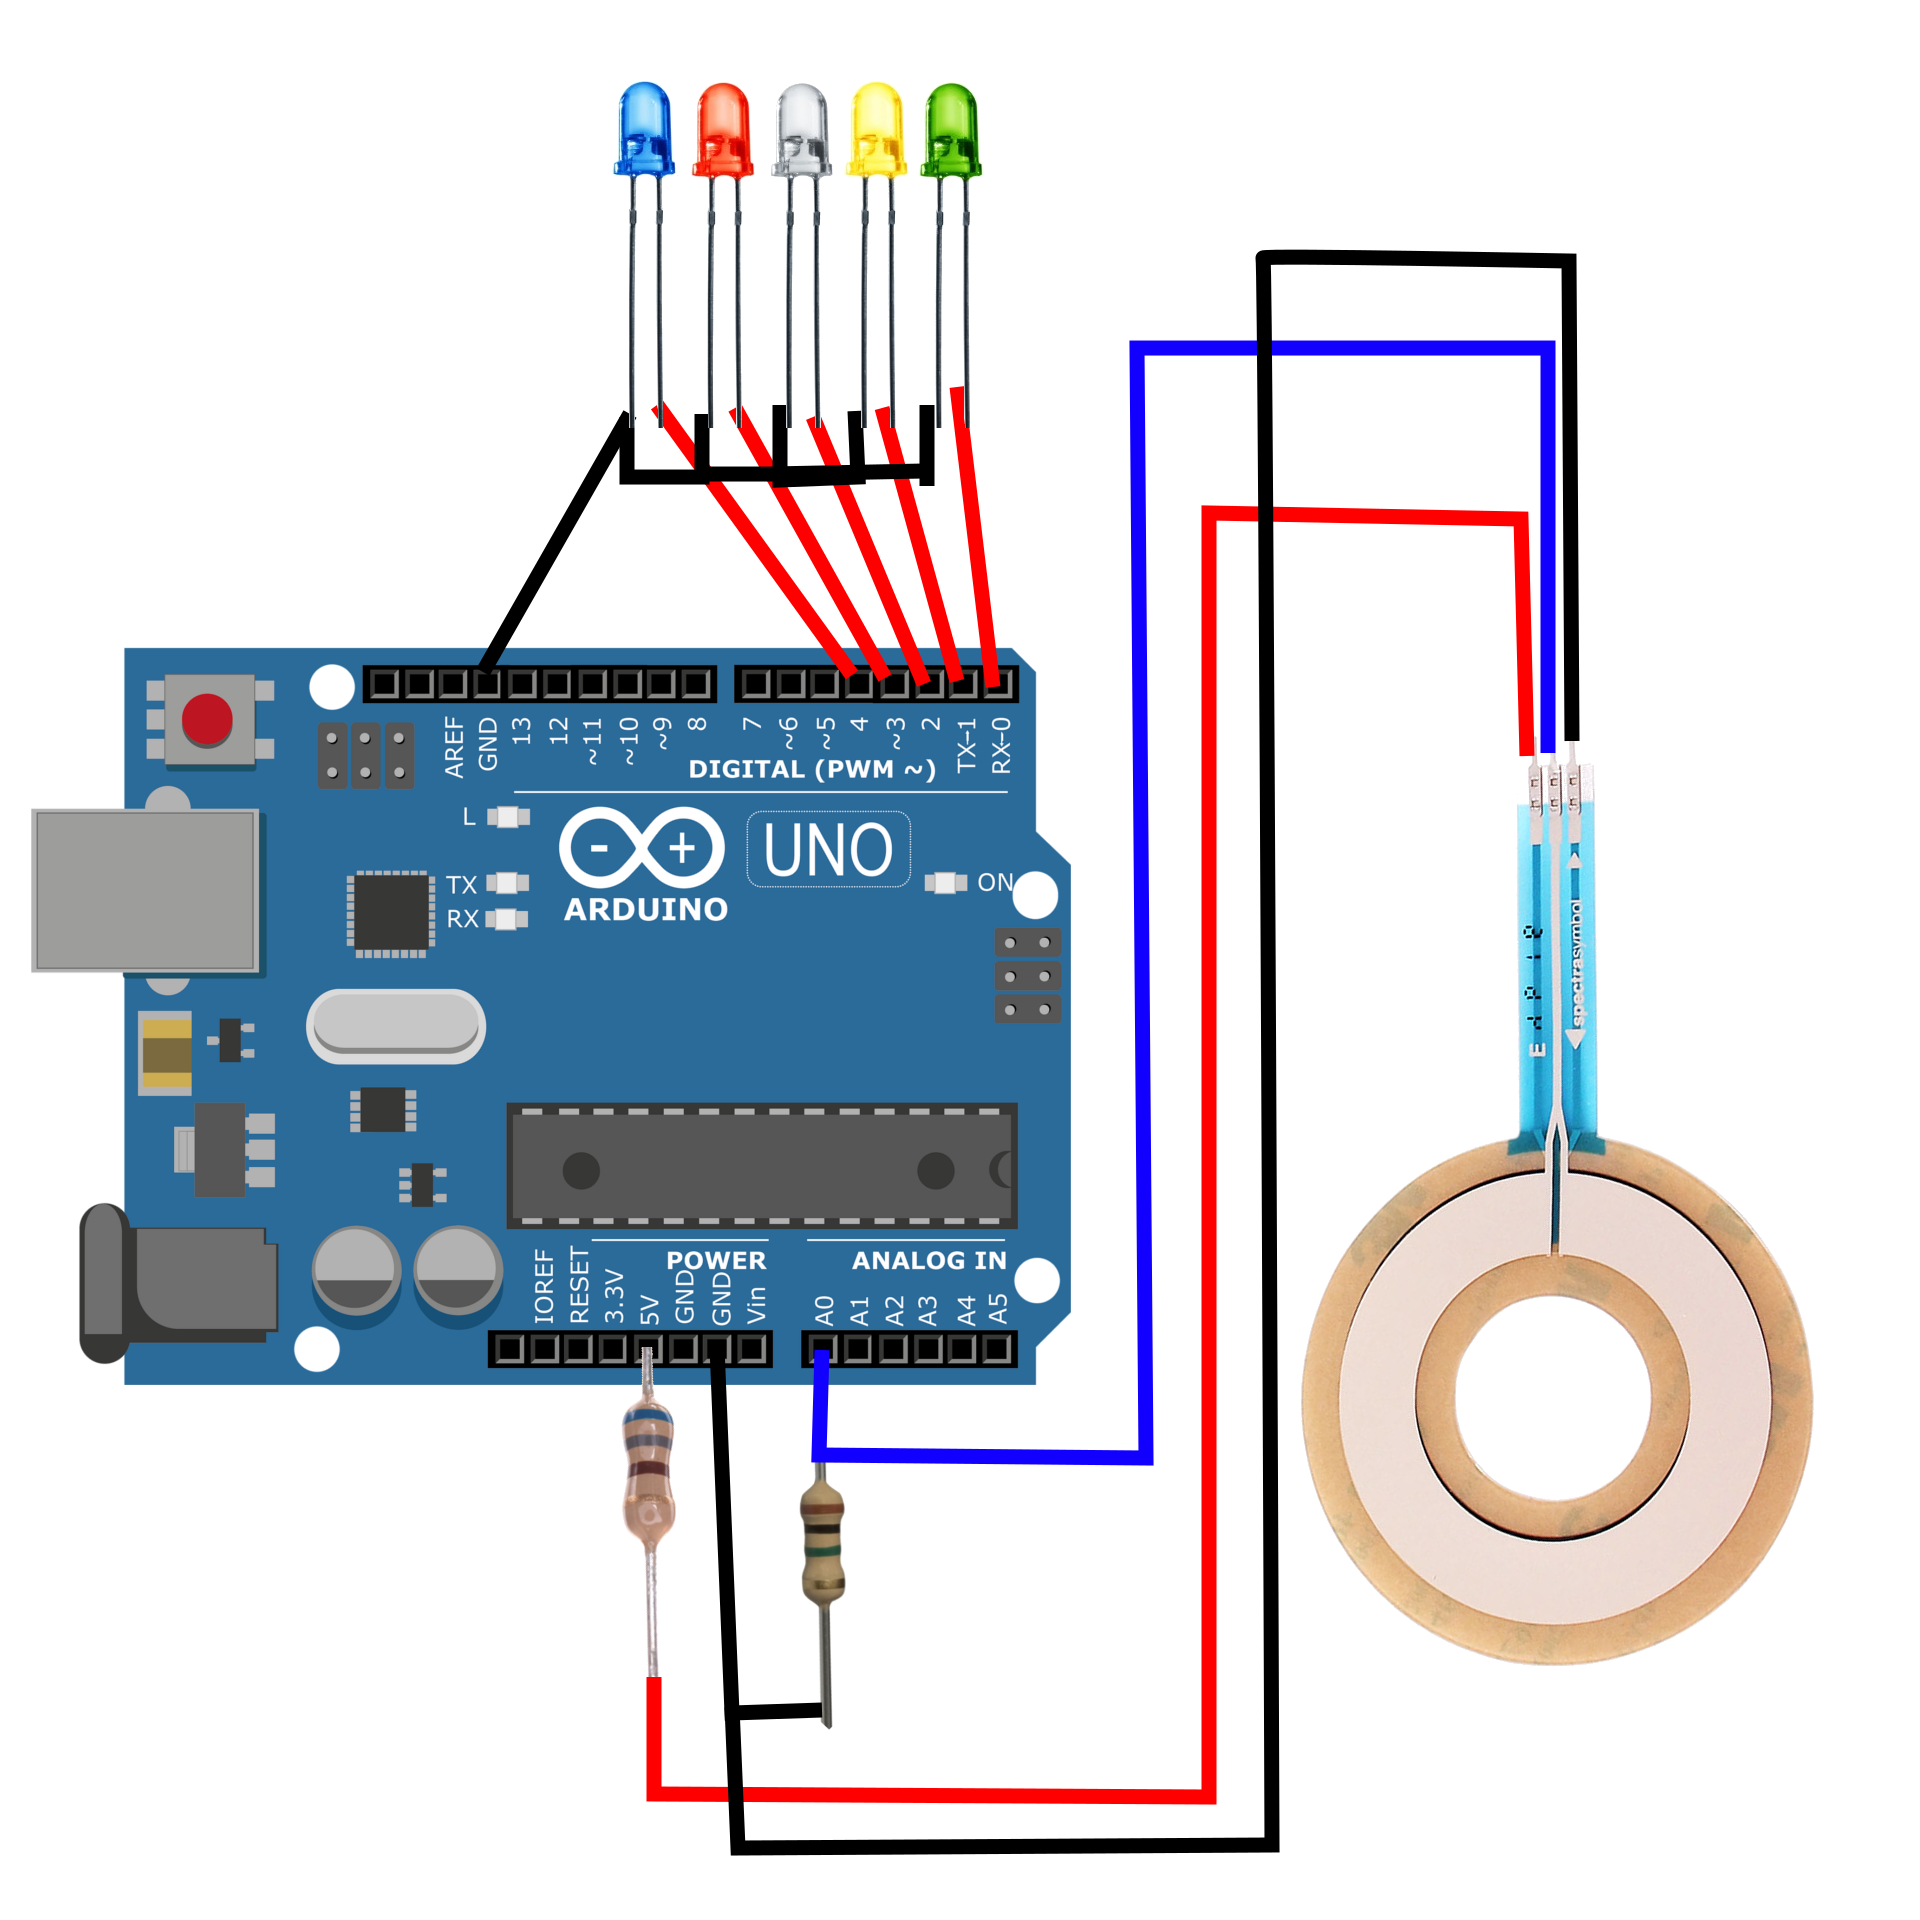
How to use a soft, circular-membrane potentiometer with an Arduino board. Potentiometers function by altering the voltage of a system by mechanically changing the resistance associated with a voltage divider. In a traditional potentiometer (think of turning a volume knob), we are physically changing the voltage of a system. In the case of a soft potentiometer (where the name SoftPot comes from), we are altering the resistance of the voltage divider by physically depressing the potentiometer, thereby changing the resistance at a contact point. The working principle is exactly the same, but in the SoftPot’s case, we are pressing, and for a knob we are rotating.
Read More